
Windows has allowed users to take screenshots for a long time before smartphones were even a thing. However, since smartphones, screenshots have become very popular. As a result, Windows has improved many things about the experience as well. If you want to take screenshots in Windows 11, there are multiple easy ways to do so.
The various ways of taking a screenshot on Windows 11 include everything from the days of Windows XP to more modern methods. Some methods can get more specific than others, while some are simply faster. You can use whatever you prefer.
Content
Take a Screenshot on Windows 11 with Print Screen


Print Screen is what Microsoft called screenshots back in the day. It even has a dedicated button on the keyboard labeled PrtSc. However, it doesn’t quite take a screenshot the way you’re used to on your smartphones. When you press the PrtSc key, it copies the screenshot to your clipboard rather than saving the image as a file. To save the screenshot, you’ll have to become a bit old school.

- Press PrtSc on the keyboard.
- Press the Window key and type
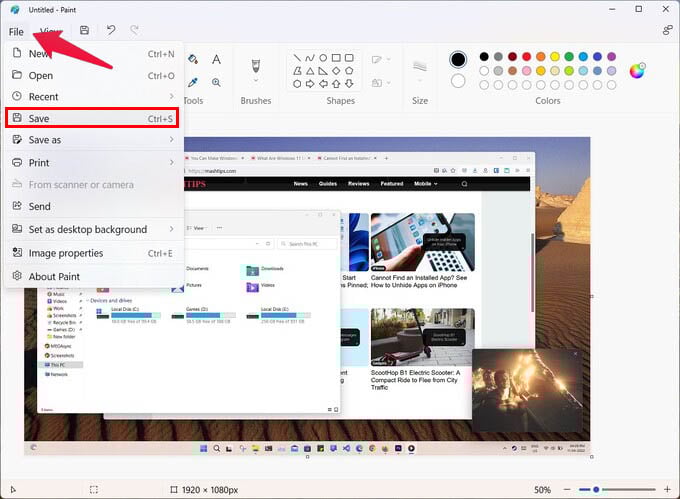
paint. - Open Paint and press Ctrl + V to paste the screenshot.
- Go to File > Save or press Ctrl + S.
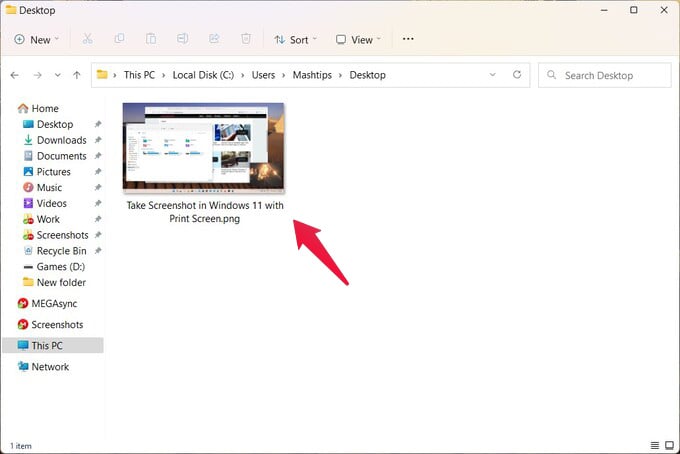
- Select a location, name the file, and click Save.

Of course, you can make any edits, or doodle on your screenshot before you save it. If all you want to do is share the screenshot, you can directly paste it into the app you want to send the screenshot with. Simply open the app, click on the input field and press Ctrl + V.
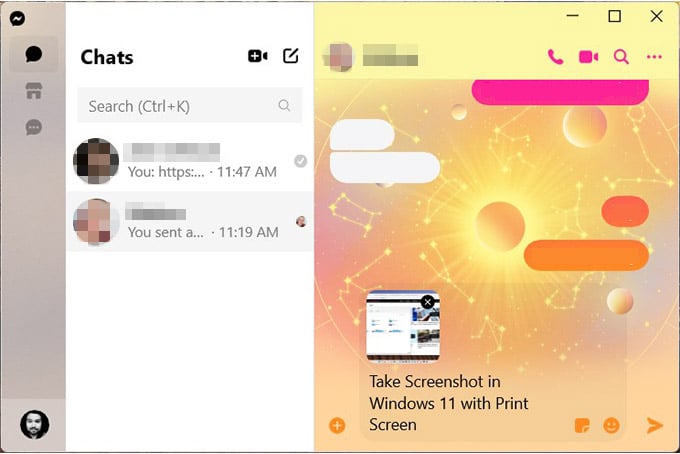
The app or website needs to support pasting images from the clipboard for that to work. For example, WhatsApp, Messenger, etc. on Windows 11 do support this.
Related: How to Take Screenshots on Windows with Screen Sketch
Directly Save Screenshots with Win + PrtSc
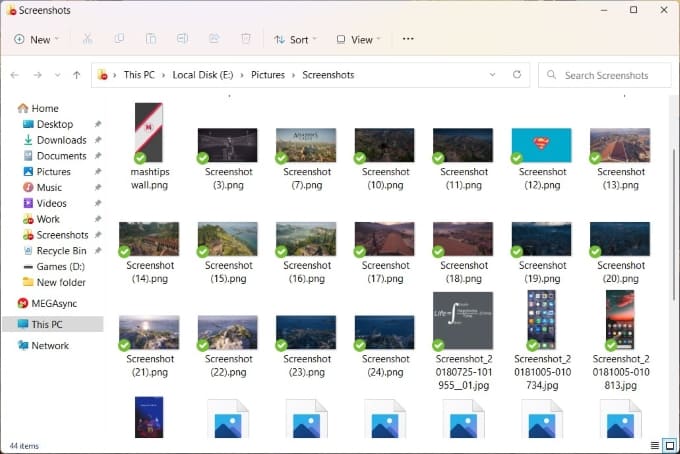
While the PrtSc key does not automatically save the screenshot it takes, you can still make it do so with a combination of keys. When you press the Win + PrtSc, Windows 11 will take a screenshot and save it as a PNG file. The default location for your screenshots taken this way is C:\Users\User Name\Pictures\Screenshots. The screenshots are saved with the name Screenshot (#).png where # is a number.
Capture Screenshot of Single Window
If you only want to share the content of a single window or app, you don’t need to show someone your whole desktop. Unlike smartphones, your desktop has multiple apps and windows open simultaneously, and you might not want to share everything. In that case, you can use another keyboard shortcut.
To take a screenshot of a single window, make sure the window is active by clicking on it. Then, press Alt + PrtSc. This will copy the screenshot to your clipboard. From here, you can follow the process as before with Paint. Alternatively, you can combine this with the Win key to directly save the screenshot as well.
So, if you press Win + Alt + PrtSc, a screenshot of the window is saved in C:\Users\User Name\Pictures\Screenshots as Screenshot (#).png where # is a number.
Related: How to Take Screenshot on Steam While Gaming
Screenshot a Specific Area on Windows 11
Sometimes, you might not even want to share a screenshot of an entire window. This can be for privacy reasons and also for convenience. For example, when reading an article online, you might want to share a screenshot of a specific paragraph. If you send a screenshot of the whole screen or browser, the recipient might get confused.

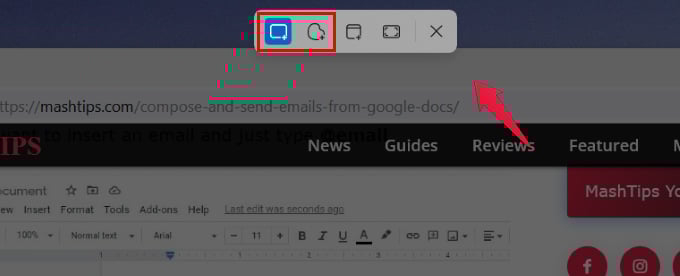
- To screenshot a specific area, press the Win + Shift + S keys on the keyboard.
- From the snipping tool overlay that appears at the top, select the first option.
- Use your cursor to draw a rectangle around the area you want to screenshot.
- You will see a notification that says the screenshot has been copied to the clipboard.

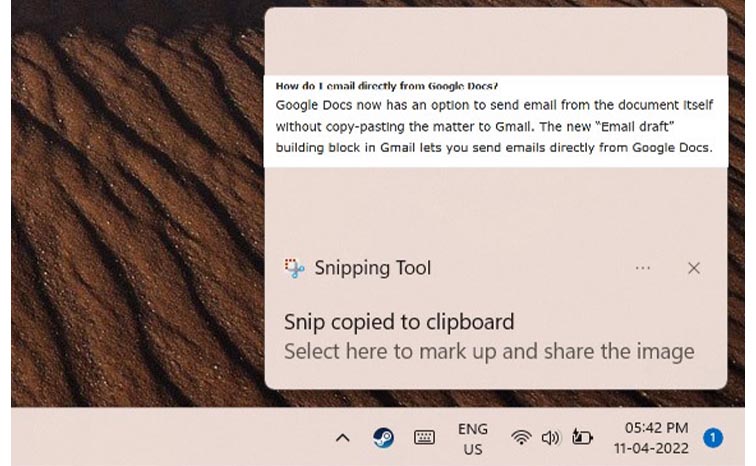
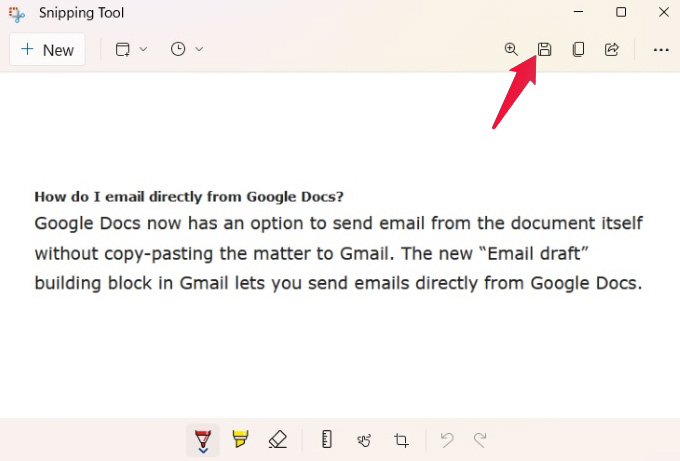
Now, you can paste it into any app you want, or go the Paint route. If you want to save this screenshot, though, the easier way would be to click on it. When you click on the notification, it opens the screenshot in the snipping tool. You can make any edits you want and/or click on the Save button at the top.

Related: How to Highlight Mouse Pointer and Clicks in Windows 10
If you want to capture a less rectangular area, you can go for the 2nd option on the snipping tool overlay. It will let you draw a custom shape on your screen and everything inside it will get captured in the screenshot.

As you can see, the screenshot-taking experience on Windows has come a long way. Not only is it now more convenient, but it is also more flexible and useful. So, the next time you take a screenshot in Windows 11, remember to make full use of these features.


