
Whenever we download something, it always goes to the Downloads folder in the Windows 10 File Explorer. It eventually ends up eating up space from your C drive and will slow down your PC. For whatever the reason it is, you can change the Chrome download location to any other drive on Windows 10.
If you are here to learn how to change download location in Windows 10 with Google Chrome browser, let us jump to it.
Change Chrome Download Location in Windows 10
On your Google Chrome browser, visit the URL below (copy, paste, and hit enter):
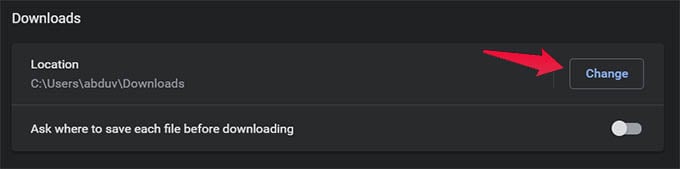
chrome://settings/downloadsOnce you are on the page, you could find the “Location” option under the Downloads title. Click on the Change button on the right to change Chrome download location in Windows 10.

From the File Explorer window popped up, choose a different drive, folder, or a location you want to set as the changed Download location in Windows 10.

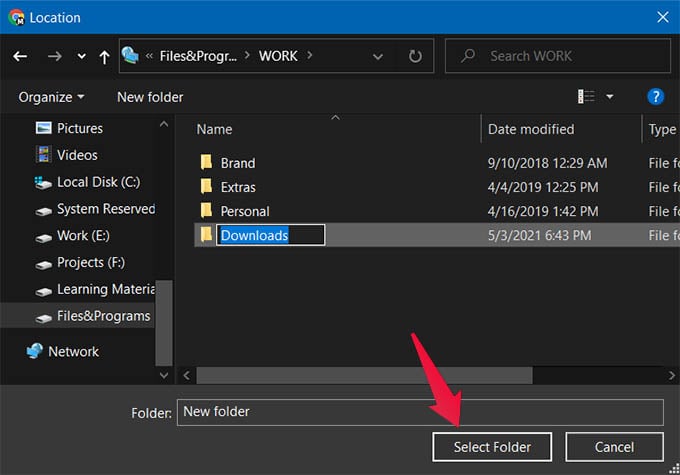
Click “Select Folder” on the window to choose the new download location for the Chrome browser.
In case you do not want to set a permanent download location in Chrome, toggle on the option “Ask where to save each file before downloading” from the Chrome settings.

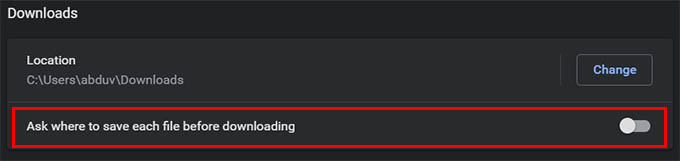
By toggling this on, Chrome will prompt to select a download location every time you try to download or save something from a website.
There are hundreds of reasons why you may want to change download location in Chrome on Windows 10 PC. If you found this guide helpful, check out our guide to import, export, and manage bookmarks on Chrome.


