
Wireless connection settings are automatically stored in your computer after the successful first time connection. This information is used to authenticate with the same Access Point next time it tries to connect. In some situations, we might need to change the wireless key in the access point which results the connection problem since the old wireless key already stored in the computer.
Hence we need to remove the already stored settings from the computer so that we can initiate new connection setup with new wireless key.
This process is much simple in Windows 8.1 too like older versions but in a different menu. Here we will see how to remove the stored wireless access point settings from the Windows 8.1 device.


Most of the settings of Windows 8.1 is available from the traditional control panel in Desktop mode. From there we can see the wireless adapter and its settings.
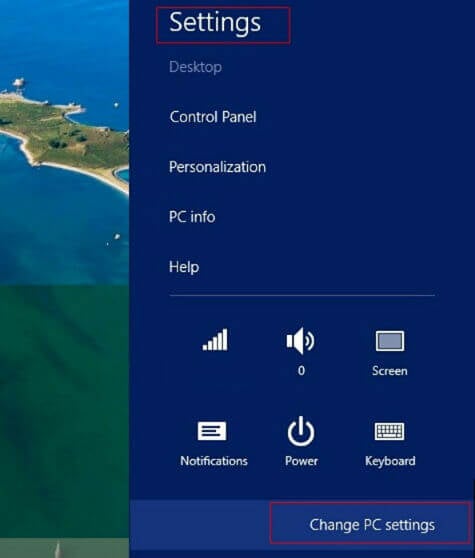
We can change the IP address of that particular adapter from the traditional control panel. However, we need to go to the charms bar for this particular procedure. We have to open the “Settings” menu from Charms bar. Then go to “Change PC settings” from “Settings” menu.

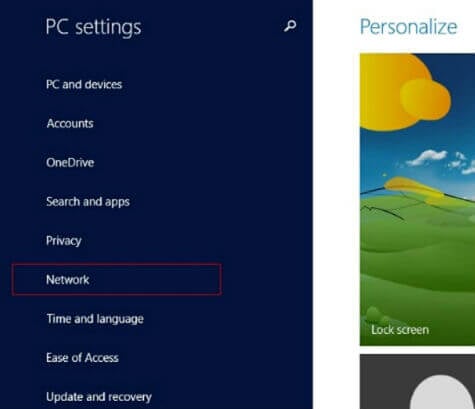
In the PC settings display, we can select “Network” to change the saved wireless profile of particular Access Point. The network settings menu will open. This menu will offer to setup or change proxy settings and home groups and workplace etc in addition to the connection setup.

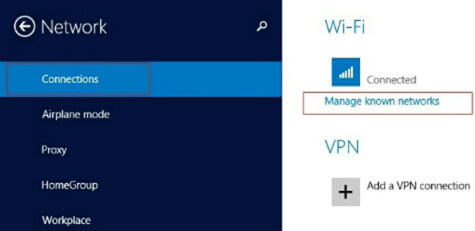
Open connection settings from this network settings menu or it will open as default. Here we can see the connected netwok wireless Access point. Here we have to open the menu “Manage Connections”. This will open up all the wireless Access Points where your device connected so far.

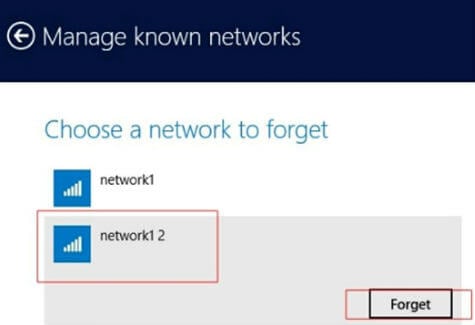
From this list, select the Wireless Access Point you want reset or remove from the list. There will be a forget button appearing near to the name of Wireless Access Point. Just tap or click that button and the saved wireless key and other settings for that particular wireless Access Point will get erased.

After doing this we can reconnect to the Wireless Access Point again, which will prompt for the wireless key. Now we can enter the changed Wireless Key there to connect with, which will solve your connection problem with Windows 8.1 device. Also you can try out more settings change from these menu’s.


