
When you run out of space on Windows 10, your system starts to slow down and degrade the performance. There are several reasons to clutter your system with files. The files may be cumulated during the upgrade process or while caching to speed up the system. However, if you are low on disk space, cleaning the data may be the only option to gain space on Windows 10 drive.
Here are our top tips to efficiently use the inbuilt features to clean up windows 10 files and gain space on Windows 10. We recommend to backup Windows 10 system before beginning the cleanup process.
Delete Temp Files on Windows 10
The name ‘temporary files’ are self-explanatory, they are files that the operating system requires temporarily to function. Windows 10 PC creates a fair amount of temporary files from the time you begin using it. The problem is that these temporary files keep on piling up. However, Windows 10 is not smart enough to remove these files automatically, and the manual approach is also not done usually. This can take up your C drive space over time and let us look at how to delete those temporary files.
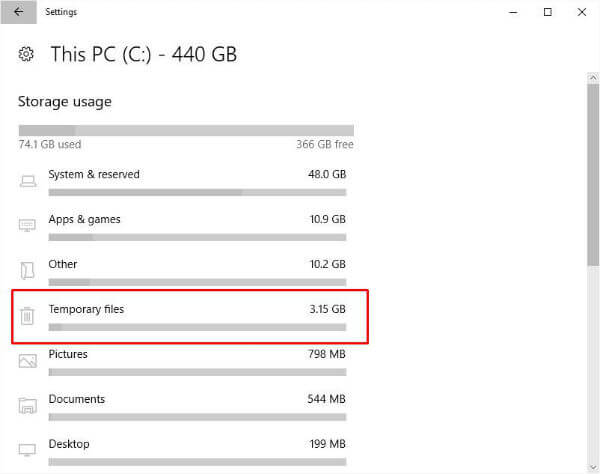

The procedure to delete temp files is rather simple. Go to Settings > System > Storage > Select Local Disk Drive ( Where your Windows 10 installed). From the list select the option: Temporary files.
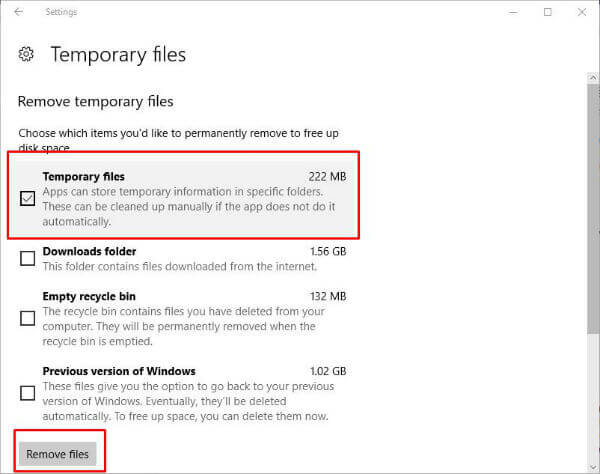
Check the option temporary files from the checklist; you can check other options also after verification if you wish to remove them. Click on the Remove files button, and now you have saved some space on your PC.
Clear Disk Cache on Windows 10
Cache is a memory which can increase a PC performance and efficiency. These cache files are saved on the disk for fetching fastly rather than searching the disk. Over time, data in this disk cache starts to slow down your computer. No one wants a slow down a PC, it’s better to clean this disk cache. Before we jump to free up the disk cache memory, you need to understand that there are two types of disk cache in Windows 10, Desktop app cache and Modern UI App cache. There are different methods associated with clearing them.
Clear Desktop App Cache
The Disk cleanup option built into Windows 10 comes to our help in this case. Type the text cleanmg in the Cortana search box and select Disk cleanup from the results. Select the preferred drive one at a time.

In the wizard that appears, check all the boxes and click the “ ” button. In the next window, you have to select the Drive in which the system files are saved. After estimating the deletable files you will be provided with the window as shown, once again check all the boxes and hit the OK button. This will clean Windows 10 cache files from the disk to free up space.
Clear Windows 10 UI Cache
Now, let’s move to Modern UI cache, which is the cache spread across Windows Store, File Explorer History, and Live Tile caches. We can start with File Explorer history, which is getting filled every time you search for a file or open a folder. So to begin the process of cleaning the cache up click the folder icon in the Taskbar.
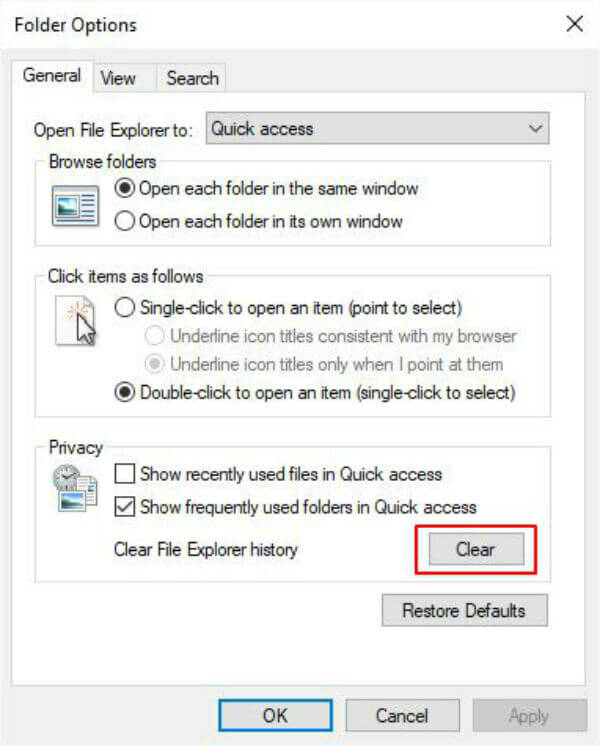

From the menu bar select, View>Options>Folder options. Hit the “Clear” button in the wizard. Now to clear Windows Store cache, launch the run dialogue box and type WSReset.exe in it. That’s it; your Windows Store cache is cleared.
Cleanup Windows 10 Upgrade Folder
Have you installed the Windows 10 Update Assistant in the urge of getting the latest Windows 10 update? If yes, you might find a folder named Windows 10 Upgrade on your root (C drive) folder. This folder may be avoided properly if you have already updated to the latest version and not looking to do the same anytime soon.
To delete the Windows 10 Upgrade folder, you may want to follow these steps. First of all, from the Settings, go to Apps > Apps&Features.
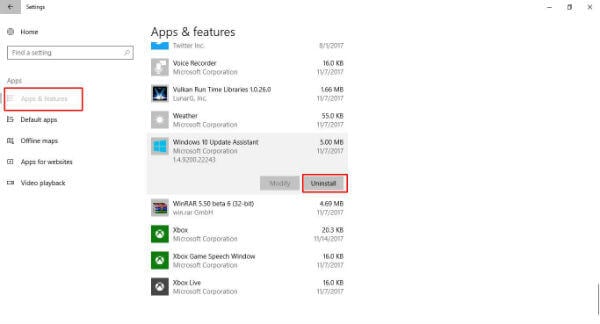

On your computer, there will be a list of apps and features on the right side panel. Scroll down until you notice the option Windows 10 Upgrade Assistant. Click that option, and you will see an Uninstall button, and that is where you need to click next to clean Windows upgarde files. The folder will be safely removed after that and now you have gained space C drive (root drive).
Uninstall Windows 10 Updates
There might be cases when your PC malfunctions soon after you updated Windows 10. Or you just might not like the updated version. Whatever the case, you can uninstall or rollback to the previous Windows 10 version with one click.
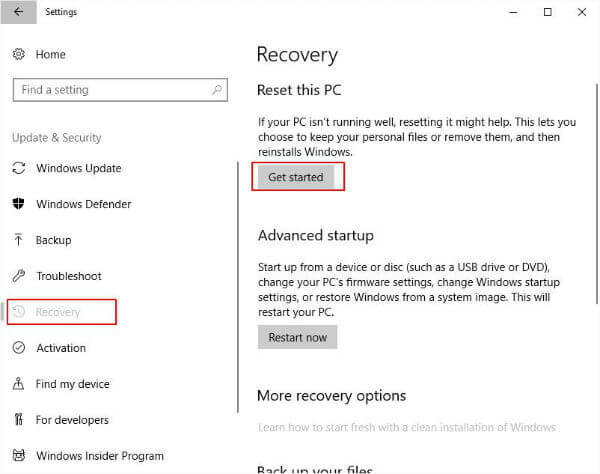
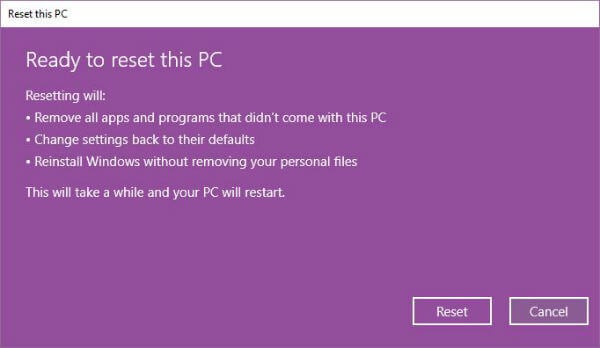
Select the Update & Security option from the Settings window, then select the Recovery option in the left side pane. Click on the Get started button.
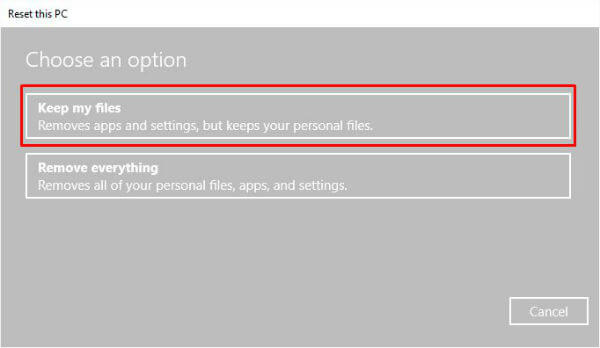

Select the “Keep everything” option if you do not want to lose your files in the process of rollback. This option only keeps the Windows Store Apps and the desktop apps will need re-installation after the process.
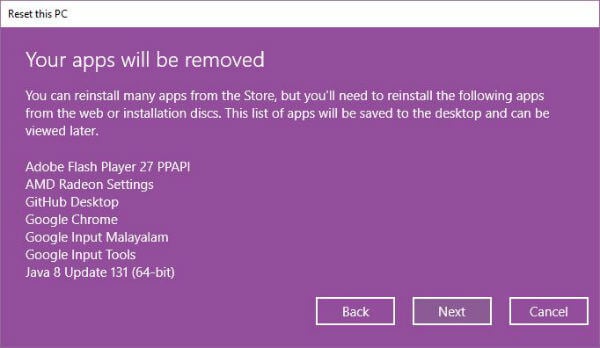
Also, make sure the important documents are not saved in Desktop that should be backed up before beginning this. If you are sure, Click the Next button.
Related: 10 Best Free PC Cleaner Software for Windows to Use in 2020
Delete Old Windows Files
When you update your PC to a latest Windows 10 version from old OS version, don’t think your computer has a clean install. In fact, the traces of old version will stay on your computer with all old OS files and that is going to take a huge chunk of Windows 10 space. This is done as a backup measure to restore the previous Windows version in case something goes wrong.
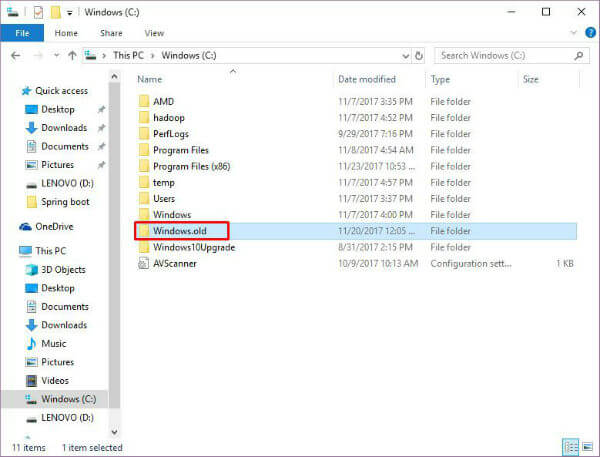

You can find the same in a system folder named Windows.old. As you have guessed, you can delete this folder to save some space. Before doing so, you have to ask yourself a question, would you want to rollback to the old version later! If the answer is no, you may continue with the steps below. Before you do that keep in mind that directly deleting the system folders might affect the system performance. Instead, follow this procedure to get rid of that files.
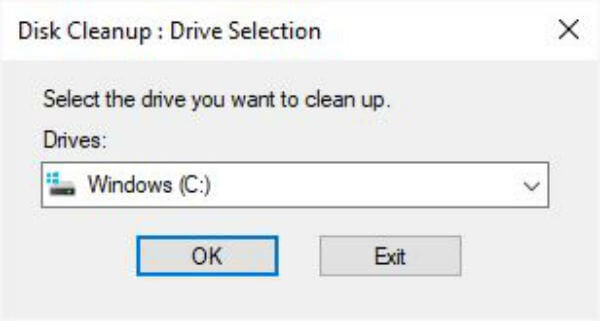

You have to head to disk cleanup, for which you type in the word Cleanup into the Windows search field. Click on the Option Disk Cleanup from the search results. A wizard appears prompting to select a drive.
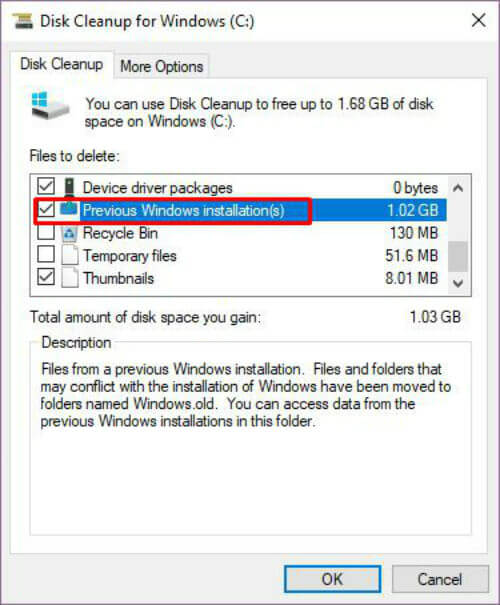

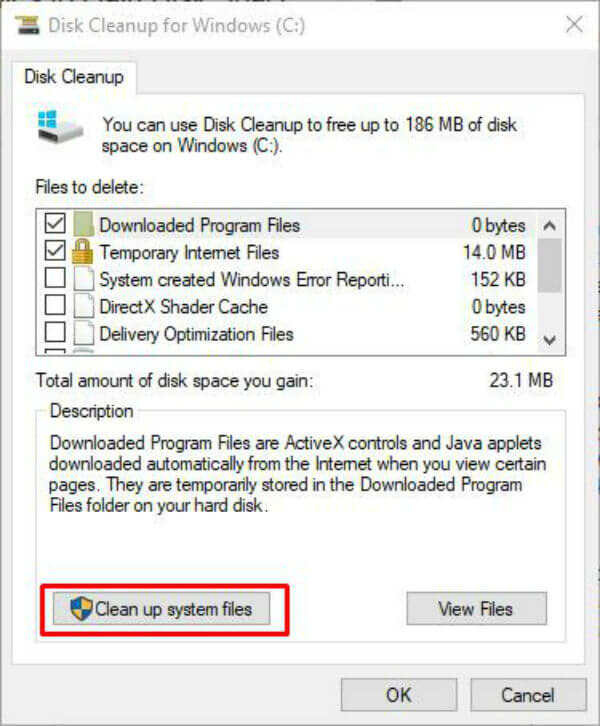
Now, click the “Clean up system files” button and the system will provide a new wizard after a small delay. To delete the windows.old folder you need to check the Previous Windows installation(s) option from the succeeding wizard and click OK button. Since this old files are taking a lot of local drive space, the removal of these files will help to gain space on Windows 10.
Remove Windows 10 Apps using Powershell
Many built-in apps come with Windows 10, most of these apps don’t take up much space. But you might not be needing it and want to remove it from the system. Most of the apps can be deleted by right-clicking and selecting the Uninstall option. As mentioned, this method works for only some apps, for the rest of the apps, you may want to use the following option.
Powershell cmdlet is a way to delete the built-in Windows app without a default uninstall option. Just keep mind that you cannot uninstall some essential apps such as Microsoft edge and Cortana even with Powershell method.
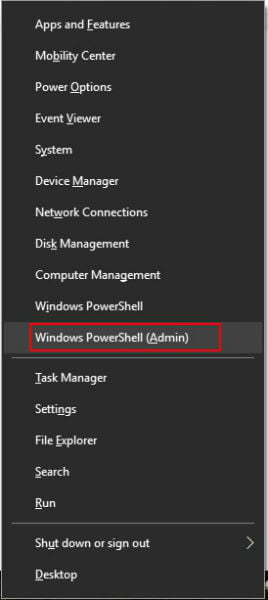

To start with the method hit the Windows+X on Windows PC keyboard. From the menu, list selects the Windows Powershell(Admin) option. In the prompt window, you have to type a command with the following syntax:
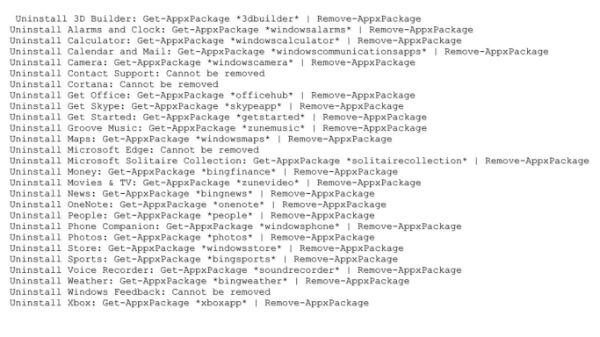
Get-AppxPackage *name of the app* | Remove-AppxPackage.
Name of the app will be between asterisk symbols. The names of few built-in apps are listed here, feel free to use it. After typing the command press Enter to execute the command.

The code given below will reinstall apps if you want to restore them :
Get-AppxPackage -AllUsers| Foreach {Add-AppxPackage -DisableDevelopmentMode -Register "$($_.InstallLocation)\AppXManifest.xml"}
Paste this in the PowerShell prompt and press enter. The process may take some time and may not show any indication of the process. Sometimes an error message would be displayed, no need to worry just restart your PC and check the start menu to find the apps re-installed.
Stop Auto Update Windows 10
Having the latest version of apps is a good thing. Staying up to date saves you from the security issues that might occur. In today’s world, you don’t need to manually go through the trouble of updating all the apps manually. The Auto update feature in Windows 10 has got you covered on that. But this feature might not appeal to some. Its understandable since the update of an unused app without your knowledge can bother some users. There is a way to stop all the auto-update if you feel the same. You can find the procedure disable enable auto-update Windows 10.
Gain Disk Space on Windows 10
Ever since the inception of the latest Windows 10, there have been major improvements in all departments of the Operating System components. After every update or so, one thing that has been haunting the user is the pile-up of mysterious files those are cramming the storage. This may either be dedicated windows files for rollback, recovery or updates. When you run out of Windows 10 space, there are several things you can do on Windows 10 to gain space on C drive or local drive. Most of these workarounds help to clean Windows 10 drive gain your lost space.


