
USB Drives are a widely used way to transfer data between different devices. They do tend to run into errors or problems though, although this is rare. When you’re trying to copy or move some files onto a USB drive, sometimes you just get something like “disk is write protected” instead. When that happens, the only way to make the USB Drive work again is to format the write protected USB Drive or somehow remove the write protection.
The only problem is, the drive won’t even allow you to reformat it. There’s no switch, most of the times at least, to enable or disable write protection either. You can actually format it though, hopefully, just not in the traditional way. But before you do that, you will need to remove write protection first.
Remove Write Protection of USB
Not many people know about it, and even fewer use it, but Windows has a built-in disk partition management tool called Diskpart. It’s a command-line utility. But before we get there, insert your write protected USB drive into your computer.
- Press Windows + R on your keyboard.
- Type cmd and hit Enter.
- Hit the Windows key, type cmd and hit Enter if you’re using Windows 10.
- Click Yes, if a User Access Control prompt appears asking you to confirm your action.
- In the command prompt, enter
diskpart
- Enter the command below.
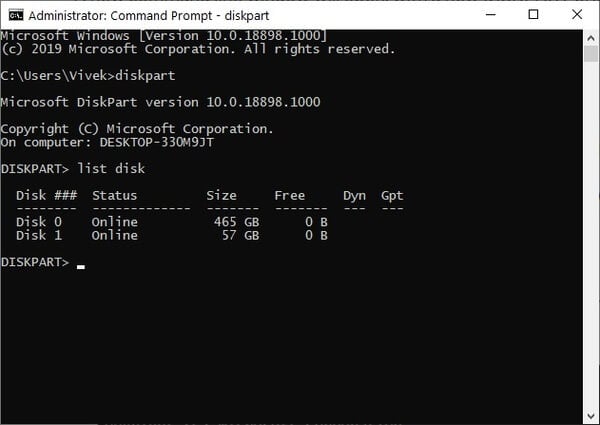
list disk
- You’ll be able to see a list of all the disks/drives attached to your computer.
- Your connected write protected USB drive will have a number 1 or higher.
- The disk with the number 0 is your system’s internal disk/drive.
- The disk with the number 0 is your system’s internal disk/drive.
- Select the correct disk drive with the
select diskcommand followed by the number of the disk. For instance, in my case, the write protected drive is Disk 1, so the command will beselect disk 1
- When the disk is selected, enter the command below.
attributes disk
(This will return you some information about the disk. If the disk is write protected, the first line there will be Current Read-only State: Yes.)
- To remove write protection from the write-protected disk, enter this command.
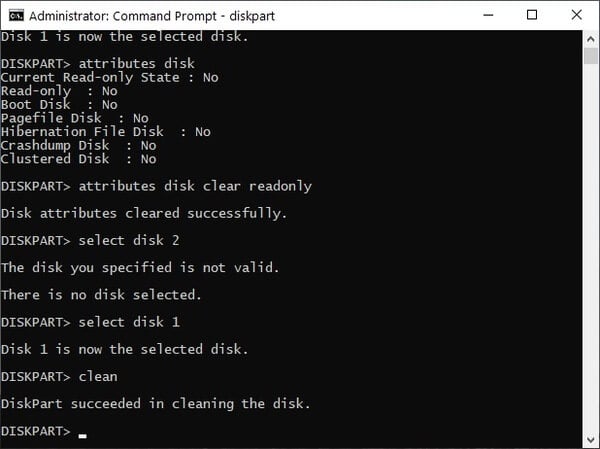
attributes disk clear


Format Write Protected USB
Now that the write protection has been removed, you can format the USB Drive if you want to.
- Select the disk again.
select disk #
(Replace # with the correct disk number).
- Format it using the
cleancommand.clean
- The command above actually deletes the entire workable partition of the USB Drive. (now you’ll have to create a new partition, which you can do using the command below).
create partition primary
- Next, format it to your desired file system. (For instance, if you want your USB drive to have the NTFS file system, use the command below).
format fs=ntfs
The formatting takes quite a lot of time depending on the size of your USB drive so sit patiently. Once it is done, you should have a write protection free USB drive.
Related: i7 Best USB Type C Flash Drives for MacBooks, iPads & Android
Format Write Protected USB With SD Card Formatter
If you don’t feel very comfortable with the command line, you can try a third-party USB utility called SD Card Formatter. It can be used in addition to or instead of Diskpart. It’s obviously easier to use and lets you perform multiple operations at once. Even though, as the name suggests, this was designed for SD cards, it works just as well for USB flash drives. The two are, after all, only different in their form factor but technically are the same things. Before you start, for Windows users, download and install SD Card Formatter.
- Launch SD Card Formatter.
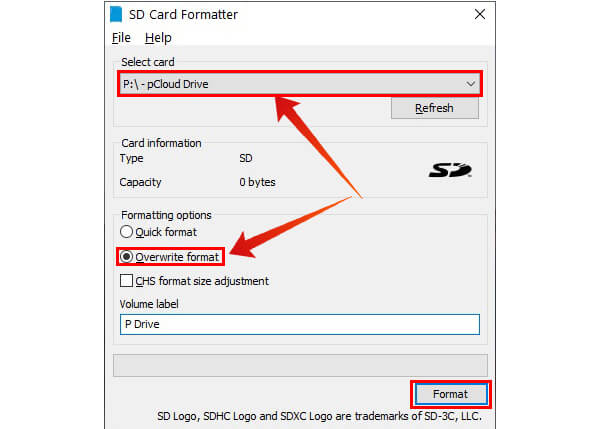
- Select your write protected USB drive from the drop-down menu at the top.
- Select Overwrite under Formatting options.
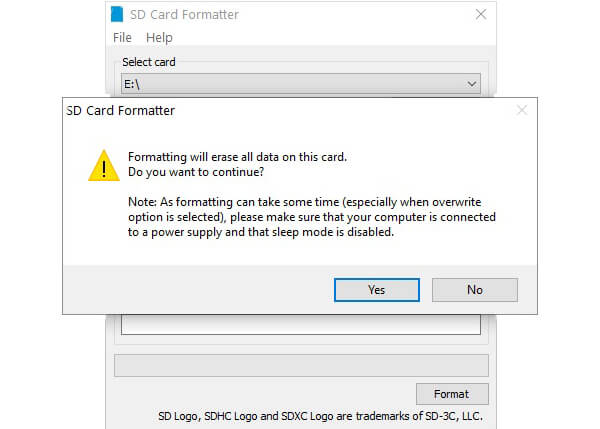
- Click Format.
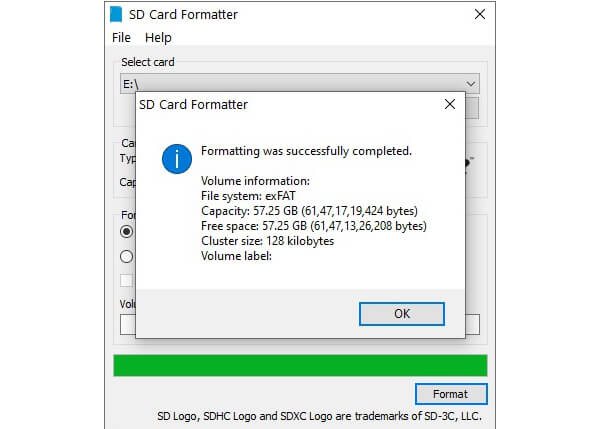

Overwrite format takes time but it makes sure everything about your USB drive gets reset and removes write protection in the process as well.
Related: How to Protect USB Drives with Password?
Still Can’t Format A Write Protected USB?
The two methods mentioned above also work in the case of SD cards or micro SD cards or any other kind of expandable storage. Diskpart too works with all kinds of expandable storage options, including external HDDs, SSDs, NVME Drives. Although, SD Card Formatter may or may not work with external HDDs or SSDs.
While the methods mentioned above will usually work, there are certain cases when they don’t. There isn’t a lot, in general, that can be done about the situation but it’s always worth checking out the support pages and forums on the manufacturer’s website. There could yet be other reasons for the “disk is write protected” error to appear too.
It is possible that the issue is not with your drive at all but with your computer’s USB port. This should be easy to figure out though, by simply inserting the drive in another USB port. It is also possible that your drive got corrupted. In which case, formatting it using Diskpart could work, depending upon the reason your drive got corrupted. If it’s a simple case of file or drive corruption, formatting it with “diskpart” should solve it.
In the odd chance that the partition tables are involved, things are a bit too messy. If the above-mentioned steps don’t work and you can’t find anything on the internet, it is very likely that the USB drive is simply defective. In that case, you might want to explore your options with the manufacturer if your drive is still under warranty. Many USB drive manufacturers also offer long warranties so you might be able to get a free repair.


