Whether you want to send an email to wish someone on their birthday or anniversary or send a work-related email to your colleague in different time zones, email scheduling helps. You don’t have to check third-party email clients or apps to schedule emails. You can now schedule an email on your iPhone without any third-party apps.
Here we will show you how you can schedule emails on your iPhone using Apple Mail app and other email apps.
How to Schedule an Email on iPhone from Apple’s Mail App
Gmail allows you to schedule email on desktop or mobile. Now, with the iOS 16 update, you can schedule emails from your iPhone’s Mail app as well. Let’s see how to do that.
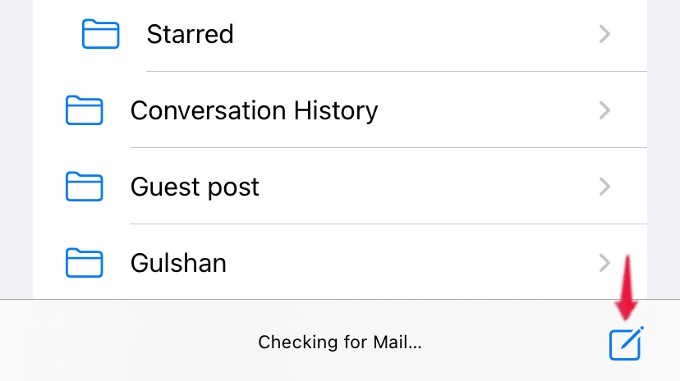
On your iPhone, open the Mail app and tap Compose icon shown on the bottom right of the screen.

Next, enter the name of the recipient in the To field, fill in the subject and compose the message.
Once you are done, long tap the Blue Arrow/Send icon on the top right till you see a pop-up menu.
In the menu, you will see four options: Send Now, Send 9.00 PM Tonight, Send 9.00 PM Tomorrow, and Send Later.
If you want to schedule the email at the given date and time, you can tap any of the three options. Or tap Send Later if you’re going to set a custom date and time. Then, on the next screen, select the desired date and time from the calendar.
After selecting the date and time, tap Done to schedule the email.
Now, you will see a new folder named Send Later in your mailbox. All the emails you have scheduled will be stored in that folder. Once you schedule an email on your iPhone, you can see them from the folder, but you cannot edit the email content later.
Related: How to Block Email Tracking on iPhone
How to Edit Scheduled Emails on iPhone
After scheduling the email, you cannot edit the subject, recipient, or message. However, the iPhone Mail app allows you to modify the scheduled date or time. Let’s see how to do that.
On your iPhone, open the Mail app and tap the folder Send Later on the Home Screen. Here, you will see the list of all emails that are scheduled to be sent. Go ahead and tap on the email you need to edit.
Then, you will see the details of the email with Edit on the top right. When you tap Edit, you will be redirected to a new screen where you can select the new date and time to schedule the email. Tap Done on the top right to save the changes.
Related: How to Change or Remove “Sent from My iPhone” Signature on Mail App
How to Delete Scheduled Emails on iPhone
Do you want to delete a scheduled email as it need not be sent? Well, there are a couple of ways to remove the scheduled email from the Mail app on your iPhone.
Open the Mail app on your device and go to Send Later folder. Long tap on Send Later till you see a pop-up menu on your screen; from the list of options, tap Trash Message. That’s it. The mail will be removed from the Send Later folder, and it will not be sent.
There is another way to delete the scheduled email. In the Send Later folder, tap on the mail that needs to be removed and Edit on the next screen.
In the new screen titled Send Later, you will see the red text Cancel Send Later below the calendar. Tap on Cancel Send Later to remove the scheduled email on your iPhone.
How to Schedule Email on iPhone Using Third-Party Apps
Are you not using the Apple Mail app on your iPhone and sticking to third-party mail clients like Gmail and Outlook? At the time of writing, the Outlook app for iPhone doesn’t have an option to schedule an email. However, the Gmail app has the email scheduling feature, and it is very similar to the Apple Mail app.
Schedule Email in Gmail
To schedule an email on Gmail from your iPhone, launch the Gmail app and tap Compose icon located on the bottom right.
Enter the recipient email in the To field and fill in the Subject. Once you are done composing the email, tap the three-dot icon on the top. Now, you will see a pop-up menu at the bottom. Tap Schedule send from the list of options.
In the new pop-up menu, you can tap any predefined date & time options or tap Pick date & time to set a custom schedule. Then, select the date and time from the Calendar and tap Save to schedule the email.
Now, in the Gmail app, when you tap the three-line icon on the top left, you can see a folder with the name Scheduled. If you tap that folder, you can view the list of all emails that will be sent later at the scheduled date and time.
Related: How to Sync Contacts to Google Gmail Account on Android and iPhone
Email scheduling comes in handy when you want to send an email at a specific time but are afraid you will be busy by then. You can compose emails at any time and set a time to automatically send the email right on your iPhone. Apart from mails, you can even schedule WhatsApp text on iPhone with Shortcut Automations.