
It is quite common among Windows users to accidentally close the window or shut down the PC while working on Word documents. You may also experience an app crash or BSOD (Blue Screen of Death), which leaves the Word document unsaved. If you think you lost your work, don’t worry. There are still ways to recover an unsaved word document on your PC.
Let us discuss some effective methods to recover an unsaved Word document on your Windows 10 PC.
Content
- Recover Unsaved Word Document from Autosave
- Recover Unsaved Word Document from AutoRecover
- Find Out All Unsaved Word Documents
- Manually Recover an Unsaved Word Document
- Enable AutoRecover and Autosave on Word
Recover Unsaved Word Document from Autosave
In Microsoft Word, there is a built-in autosave feature. While working in a document, the MS Word app creates backups of the file periodically. So, if the app or PC go crashing, you can recover the autosave version quickly.
Follow these steps to recover the word document in which you saved at least once.
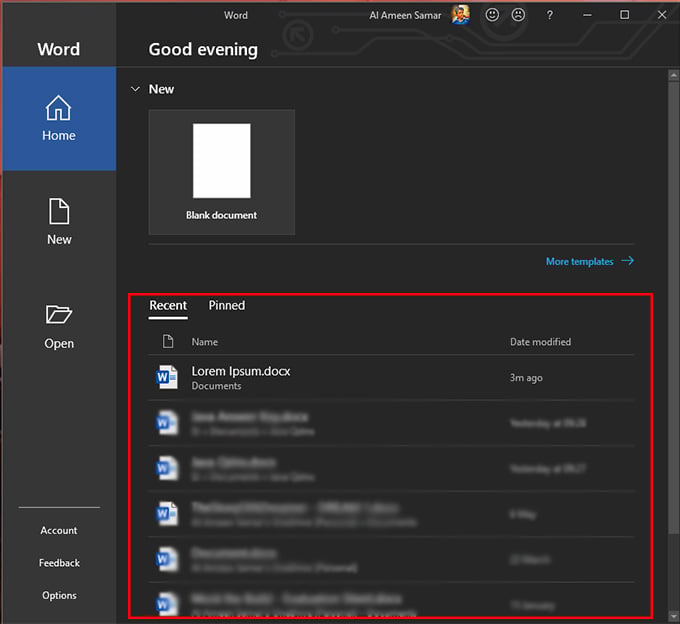
- Open Word on your PC.
- Click on your document under “Recent.”
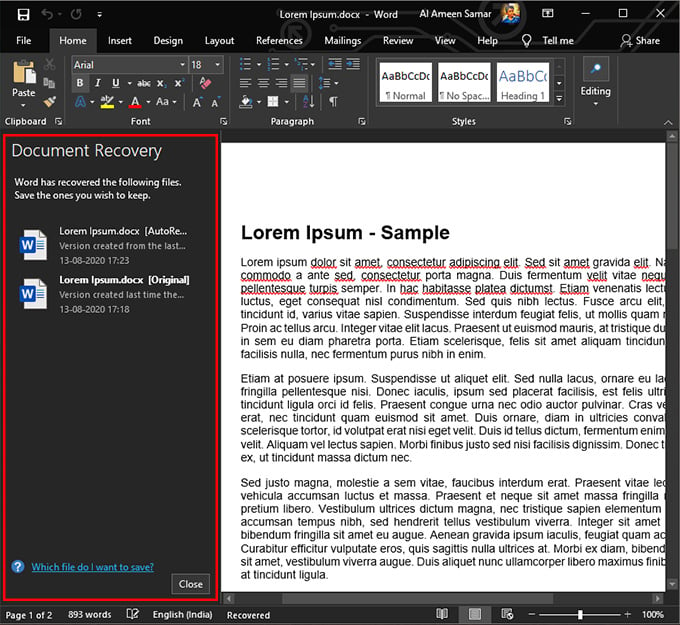
- It will open up the Document with Document Recovery Pane.
- Click on the latest autosave version from the “Document Recovery” pane.
- Now you can save the word document and continue working.
This will work if you have saved the document file at least once. If the file was unsaved, you could try your luck with the auto recover option on the Microsoft Word app.
Recover Unsaved Word Document from AutoRecover
Sometimes, you start working on a Word document without saving at least once. In such cases, you will not be able to get the autosave version. Even the Recent Documents may not list them. The AutoRecover feature on Microsoft Word comes handy to help in such situations.
Let us see how to recover an unsaved Word document on Windows 10 from AutoRecover.

- Launch Microsoft Word app on your Windows 10 PC.
- Click on the Blank Document.
- In the new Document window, the Document Recovery pane will show you the document you were recently working on with an AutoRecovered tag.
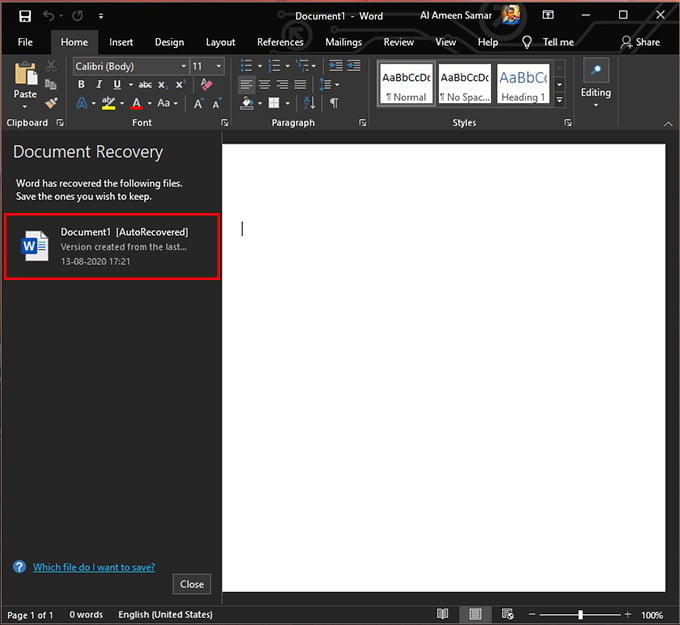
- Click on it, and there you go. The autosave word feature will do the rest.
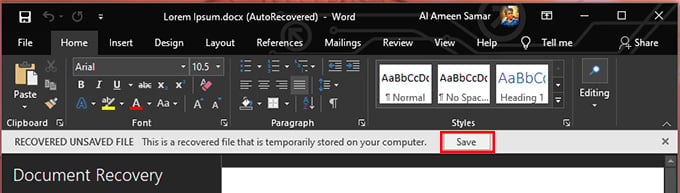
- Click on the Save button on the tiny message on the top of the document to save it.
Unlike the autosave version, the AutoRecovered Word Doc is likely to be missing some data. Don’t worry. You will get almost every Word you typed on the unsaved Word document before.
Related: 5 Free Alternatives to Microsoft Office for Windows and Mac
Find Out All Unsaved Word Documents
As you know now, it is easy to recover the latest document on Word. Also, MS Word lets you find out the autosaved files from the Welcome window itself. You must be on Microsoft Office 2016 or 2019 to do this. Follow the steps to find out all unsaved Word documents.
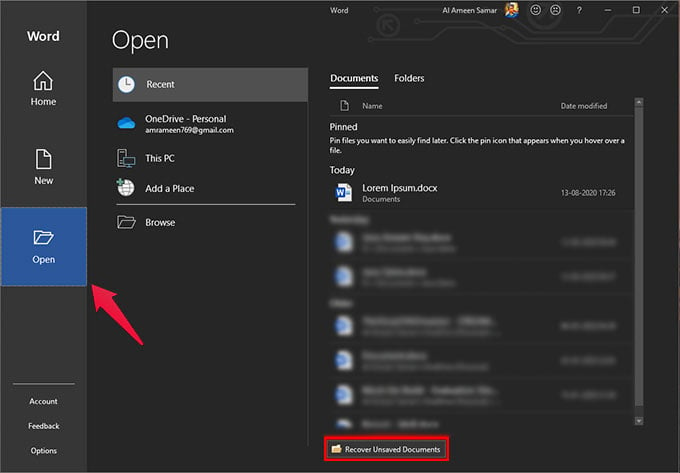
- Open Microsoft Word on your Windows PC.
- From the left pane, click on Open.
- Click on the Recover Unsaved Documents button at the bottom right.
- A new window will pop up, which will list out the unsaved Documents.
- Open the .asd file that contains your unsaved content.
- Now, you can edit the unsaved document of your wish and save.

The unsaved files in Microsoft Word are saved in .asd format. When you open them from Word, you can continue editing as a regular document. Later, you can save the word document file in PDF or other formats.
Manually Recover an Unsaved Word Document
Sometimes, the AutoRecovery and Autosave features may fail. In such cases, you are likely to lose the unsaved document. But, here is a little tweak that lets you manually recover unsaved Word documents on Windows 10.
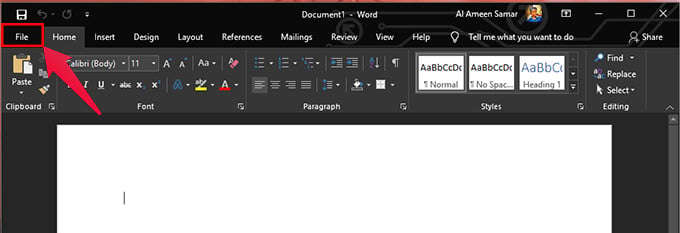
- Open Microsoft Word.
- Click on File from the menu bar.
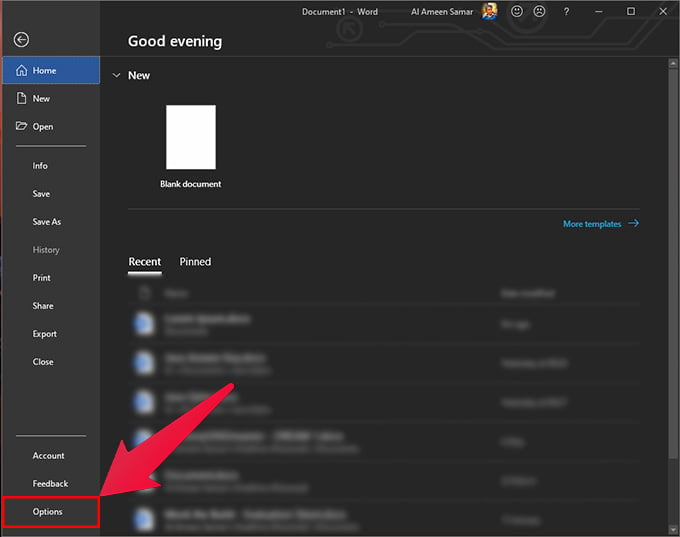
- Click on Options at the bottom on the left pane.
- On the popup window, go to the Save tab.
- Look for the AutoRecover file location.
- Click on Browse.
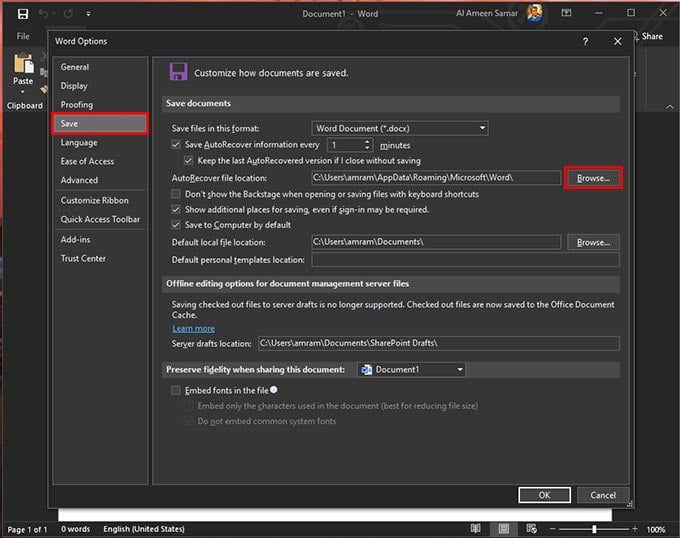
- In the Opening Directory, you will find your unsaved files with .asd extension.
- Double-click the document, and Choose Word as the app to Open the Document.
- The autosave word document will open in read-only mode.
- Click on Enable Editing to start editing the document.

Henceforth, you can save the file or copy and paste it on another word document to continue your work.
Enable AutoRecover and Autosave on Word
Autosave is a helpful feature in Word. It saves your files every 10 minutes automatically. But, if your system crashes just before an autosave, you will lose what you typed in the past few minutes. To avoid that, you can set Autosave to 1 Minute on Word.
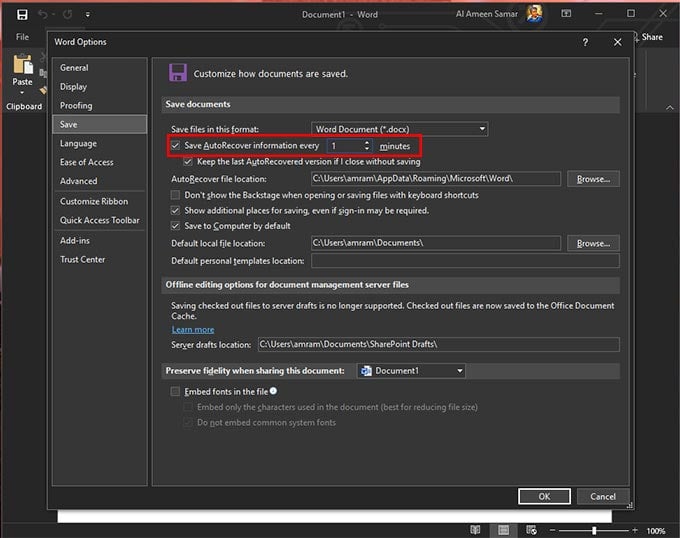
- Open Word, click on the Options tab.
- Go to the Save tab from the window.
- Click on Save Autorecover information every and provide “1” to set it to 1-minute.
- Click on OK.
You can set the Autosave to 1-minute. Microsoft Word will save your document every minute while you work on it.
That’s all about the best methods to recover unsaved Word document on Windows 10. These methods can work after a System crash or app crash. I hope you follow the best.