
With more and more people having multiple screens in their lives, the ability to share things on your screen is invaluable. Typically, screenshots are the most popular way of doing it. Sometimes, though, screenshots are not enough. Whether you want to quickly show someone how to change the default browser on Windows, or you want to capture an epic boss battle in Elden Ring, screen recordings prove much more useful in such cases. And now, you can screen record Windows 11 without having to install anything.
Even Windows 10 had the ability to screen record via the Xbox Game Bar tool, just to be clear. And that did carry over onto Windows 11. However, that, as the name would suggest, was mostly for people to record gameplay. As such, it has certain limitations like it can only record one app at a time rather than your whole desktop. That’s because generally you’re only playing one game at a time, ideally in full screen too. It’s pretty good if you want to record some gameplay footage. But, for everything else, you might prefer to use the new Snipping Tool instead.
Xbox Game Bar Screen Recorder for Windows 11
Xbox Game Bar and its screen recorder is available for Windows 10 and 11. The Game Bar, of course, has many features other than screen recording, such as CPU and GPU monitoring. Here, we’re only going to discuss the screen recording, though. As mentioned before, Xbox Game Bar does work with other apps, not just games, but it can only record one app at a time, rather than your whole desktop.
So, if you want to show someone how to do something, that involves multiple apps, that won’t be possible. Unless, of course, you’re willing to record multiple videos of each app separately. Either way, if you don’t need to record multiple apps, or you just want to record some gameplay to show off to friends, here’s how to do it.
- Click into any app or game you want to record.
- Press Windows + Alt + R to start screen recording on Windows.
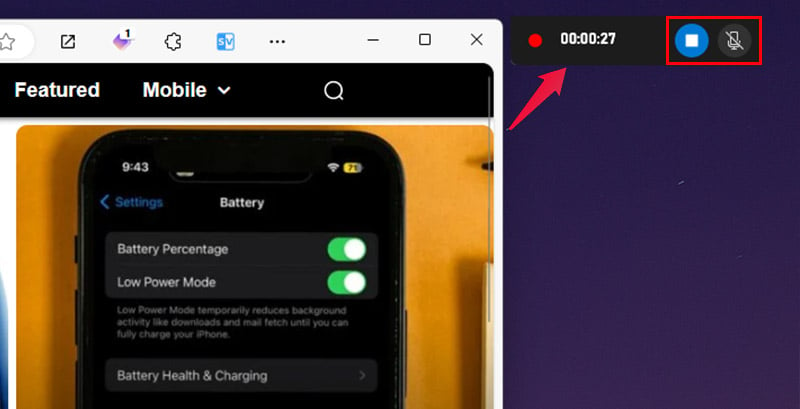
- A small widget should show up in a corner of your screen showing how long you’ve been recording, along with a button to stop recording and mute or unmute audio.
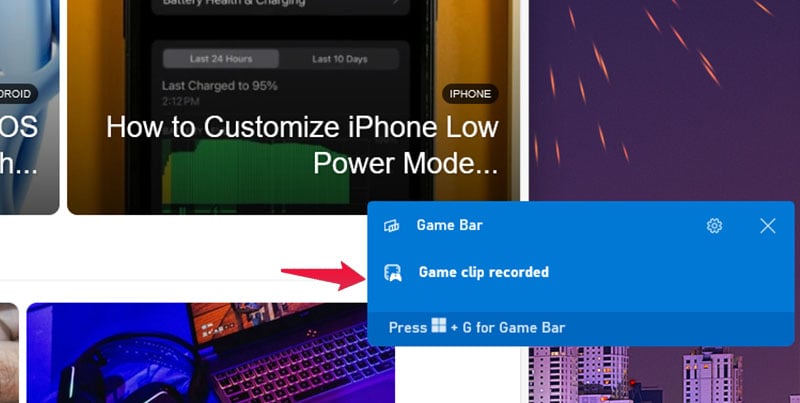
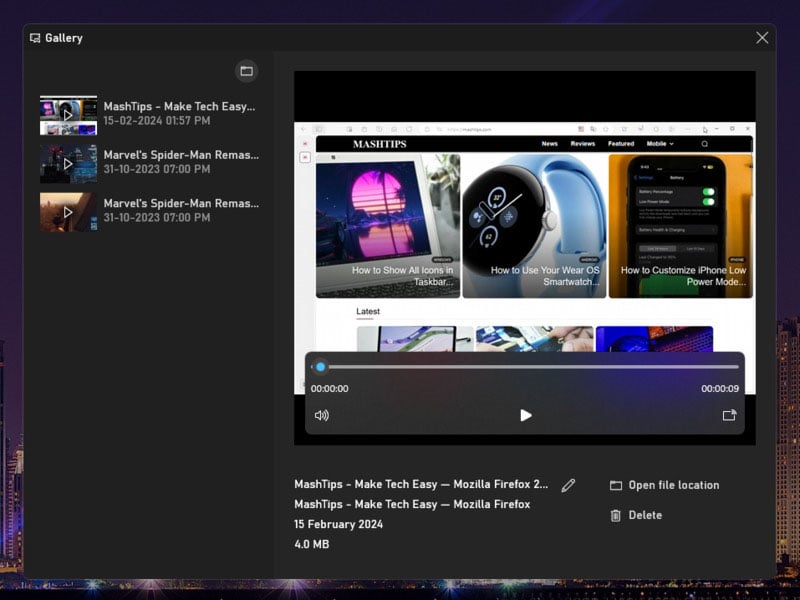
You can click on the button to stop recording or press Windows + Alt + R again. You will then receive an alert saying, “Game clip recorded” from Game Bar. Click on it to go to the Game Bar Gallery and view your screen record. Alternatively, you can find the recorded clip in the Capture folder inside your Videos folder.
There aren’t too many options to configure here, such as the resolution or quality. Unless you count the ability to mute or unmute the mic as one. You can also start recording by finding the Capture widget on the Xbox Game Bar which you can access by pressing Windows + G on the keyboard.
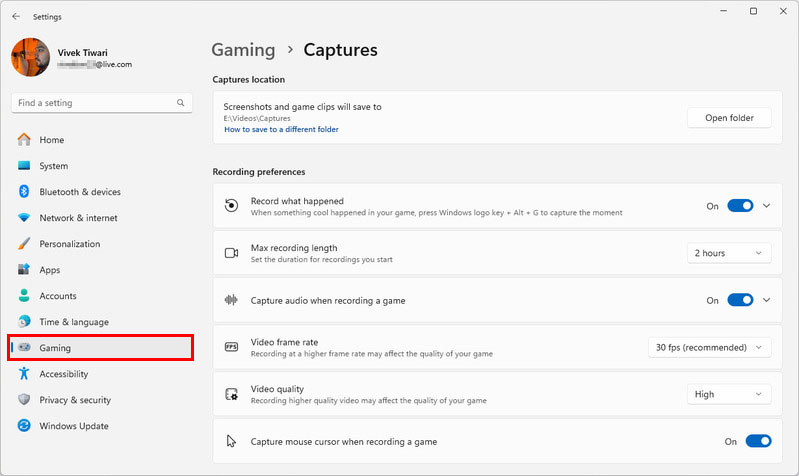
If you really want to configure the settings, you can find them in Settings > Gaming > Captures.
Screen Record Windows 11 with Snipping Tool
Snipping Tool is a Windows 11 tool built at-first for screenshots. Eventually, Microsoft also added the ability to record screen on Windows 11 to the tool. This one is able to record your a rectangular area on your screen. You can use the rectangle tool to select your entire screen as well. This does not work on Windows 10, though.

- Launch the Snipping Tool from the Start menu.
- Select the video camera icon at the top and click + New.
- Alternatively, press Windows + Shift + S to bring up the Snipping Tool and select the video camera icon.
- Draw a rectangle over an area of the screen you want to record.
- To record the whole screen, draw the rectangle across the whole screen.
- Mute or unmute the external mic and/or system sounds, depending on what you want and don’t want to record.
- Click on the Start button to start screen recording on Windows 11.

You will then see a screen recording timer, along with the pause and stop buttons. To cancel the recording and delete it, you also have a delete button. When you click on the Stop (red square) button, you will see a preview of your recording that you can then Save.
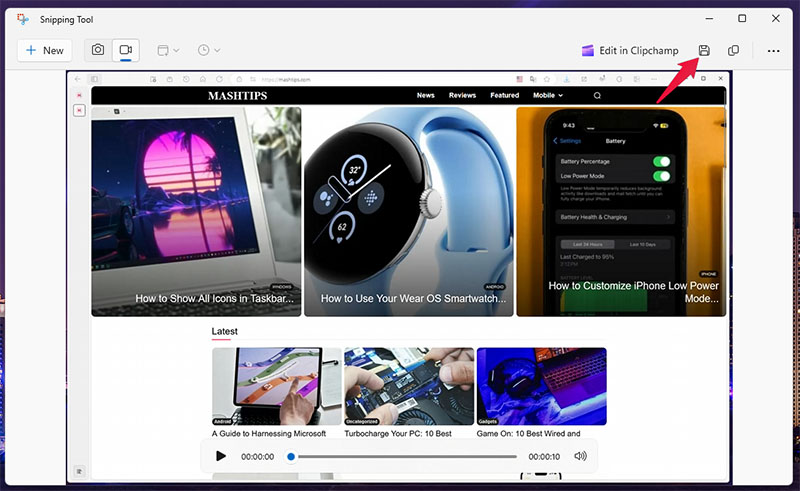
If you need something more robust, with more control and more features, you can check out this list of the best screen recorders for Windows. But for some basic screen recording on Windows 11, you now don’t need to install yet another app.