
Android devices use Chromecast to cast content onto other Chromecast-supported displays. Windows, on the other hand, uses Miracast for the same. But just a year after the launch of Windows 10, Windows has allowed users to cast Android screens onto their PCs. Today, let’s see how you can cast Android to Windows 11.
Windows 11 also uses the same app to allow you to cast Android screens to Windows 11. Unfortunately, the app, called Connect, is just as notoriously hidden in Windows 11 as Windows 10.
Set Up Wireless Display on Windows 11 to Cast Android to Windows 11
Windows 11 can act as a wireless display for your Android smartphone via the Connect app. But to install it, you’ll need to enable an optional Windows feature.
- Launch the Windows 11 Settings app from the start menu or press Win + I on the keyboard.
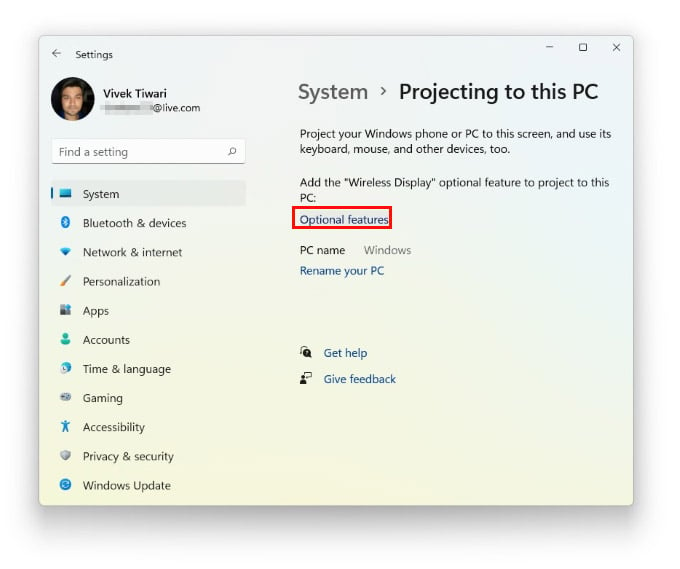
- With System selected on the left column, scroll down on the right and click Projecting to this PC.

- Click on the Optional features link, and you will be redirected to a different Settings page.
- Here, click on the blue View features button.
- Scroll down the list that opens up and select Wireless Display, then click Next.
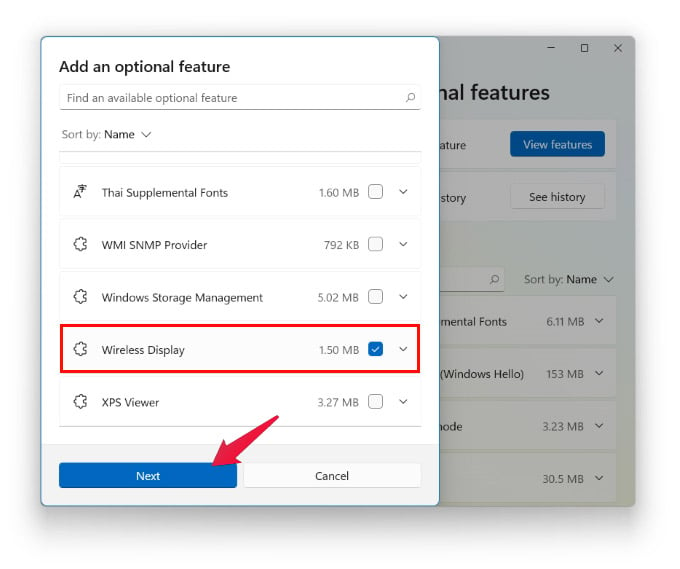
- Click Install.
- Once it is installed, go back to Settings > System > Projecting to this PC.
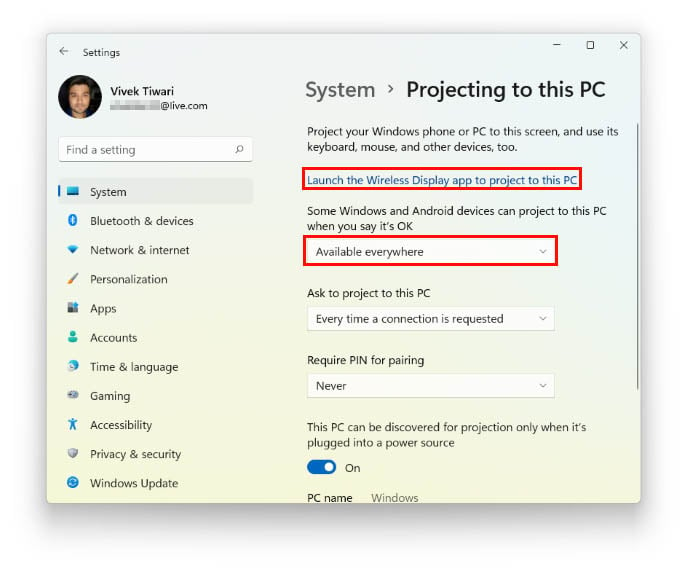
- Click on the very first drop-down menu and select Available everywhere.
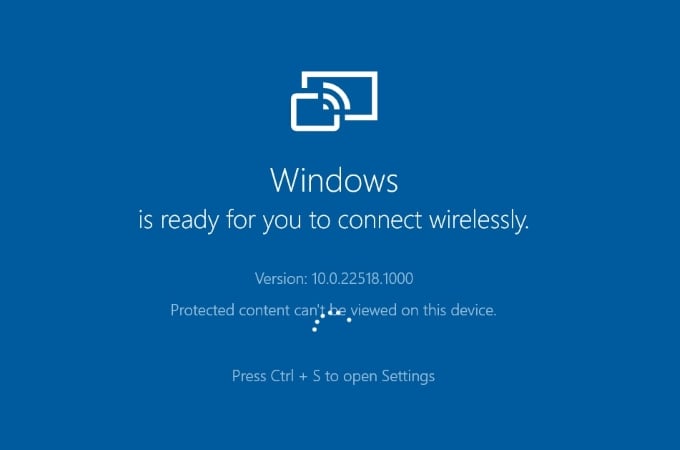
- Next, click on the link above that says Launch the Wireless Display app to project to this PC.
Related: How to Install Android Apps on Windows 11 Right Now
Screencast Android on Windows 11
Now that your Windows 11 PC is ready to be projected on, you need to pick your phone and cast your screen. But you’ll have to make sure Wireless displays are enabled on Android as well.
- On your Android device, open the Settings app.
- Go to Connected devices > Connection preferences and select Cast.
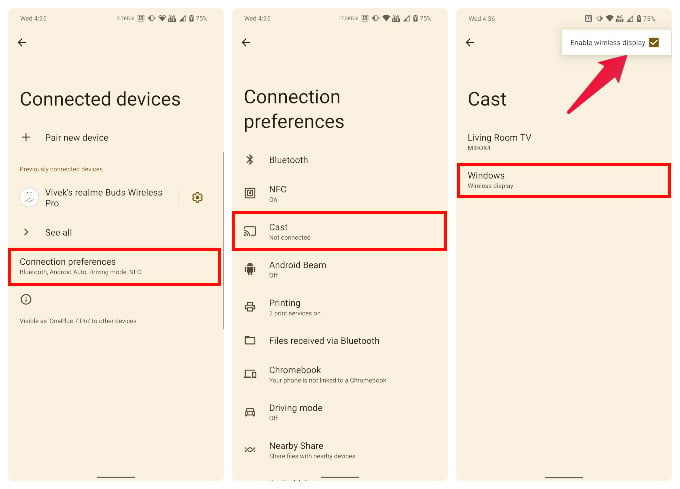
- Click on the three-dot menu button in the top-right corner and check Enable wireless display.
- You should now see your Windows 11 PC listed as one of the available cast options.
- Tap on it to begin casting your Android screen to Windows 11.
- On your PC, you may see a notification asking for permission to cast Android to Windows 11.
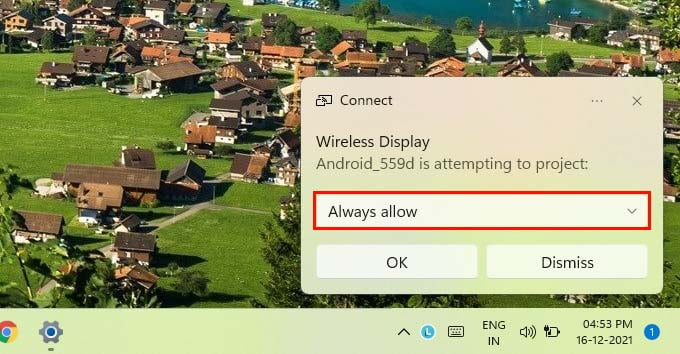
- Select Always allow from the drop-down menu and click OK.
Related: How to Get Android Notifications on PC with Windows 10
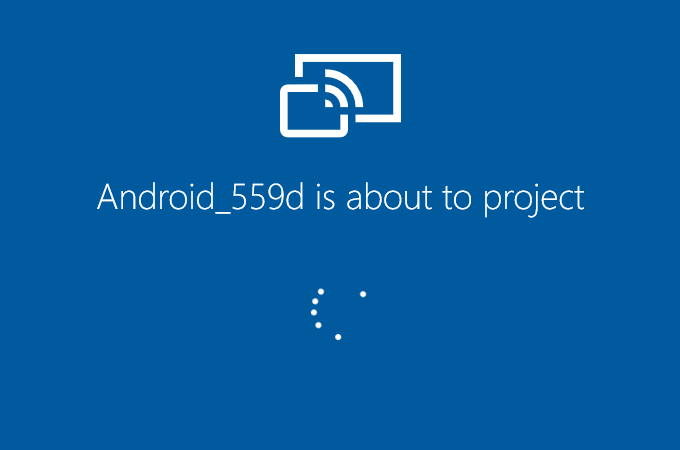
Your Android will then start connecting to your Windows 11 PC and cast the screen. Keep in mind that this only works when both your Windows 11 PC and Android device are connected to the same Wi-Fi network. That also means that the latency will depend on the speed of your network, although there will always be a bit of latency no matter how fast your internet is.
Argh. It was going so good until the third step in part 2: “Click on the three-dot menu button in the top-right corner and check Enable wireless display.” – There is NO “Enable wireless display” option anywhere, nor is “Windows” even present in the ‘Cast’ menu.
Some android 11-13 roms dont have that option. Miracast support has been removed, they are trying to get everyone to use their “brand” of casting tech like google tv and chromecast.
same problem on Pixel 6 any ideas?
It’s slow as hell. Any option to speed it up?