The Your Phone app provides instant access to 25 latest pictures shot from your smartphone camera. It lets you read and respond to SMS messages, and see your phone notifications. Users will be able to simply drag and drop photos from their phone onto their PC, even right into an app such as Word or PowerPoint. Unlike previous implementations of linking your phone to your PC, or syncing notifications via Cortana, this one provides a window to your phone right on your PC.
The Your Phone app is what we’re going to discuss today. It keeps your Android devices in sync with your Windows 10 PC.
Sync Your Android Phone With Windows 10 PC
If you have the latest Windows 10 version, your PC should already have the Your Phone app installed. In the odd chance that it isn’t, you can easily install it from the Microsoft Store. Like all other similar apps from third-parties that create a connection between your devices, you’ll need the Your Phone Companion app on your Android smartphone as well, available on the Google Play Store, courtesy of Microsoft. Although the official Play Store page of the app mentions Android 4.4 and above as the requirement, we cannot guarantee that it will. We have tested the app on Android 7.0 and above though and can assure you it works just alright.
Configure Your Phone on Windows 10
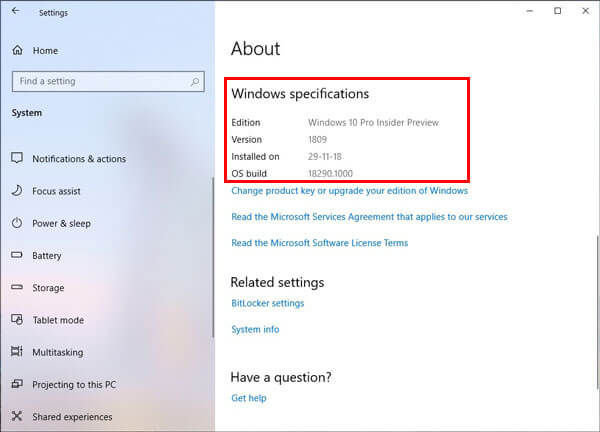
- Obviously, install the Your Phone app on your Windows 10 PC if it isn’t already installed. This will only work if you have Windows 10 version 1809 or above. If you’re unsure, you can check the Windows version in Settings > System > About.
- Hit the Windows key on your keyboard, search for the Your Phone app and launch it.
- You’ll be greeted with a pretty white page with just a Get started button. Since there are no other options, click on it.
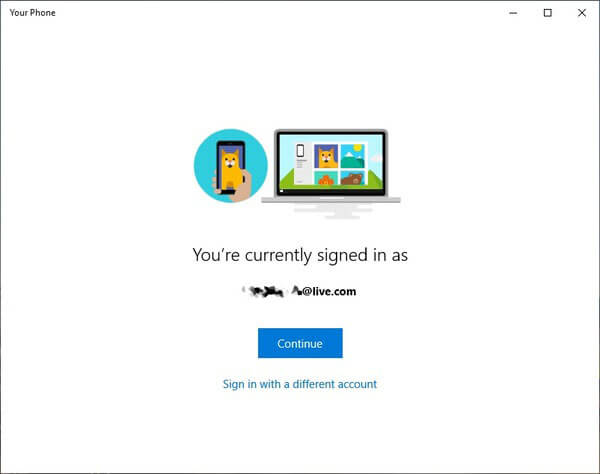
- Now you’ll be given the option to use a different Microsoft account than the one you’re currently using to sign into Windows 10. Unless you want to, click Continue.
- Not many changes on the screen after this but the button, which now says Link phone.
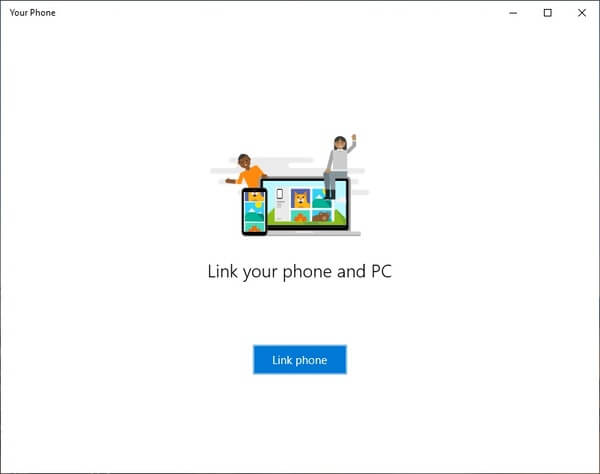
- When you click on the Link phone button, a new window appears and you’ll be asked to enter your phone number and click Send. Close the Window when you’ve done what needed to be done.
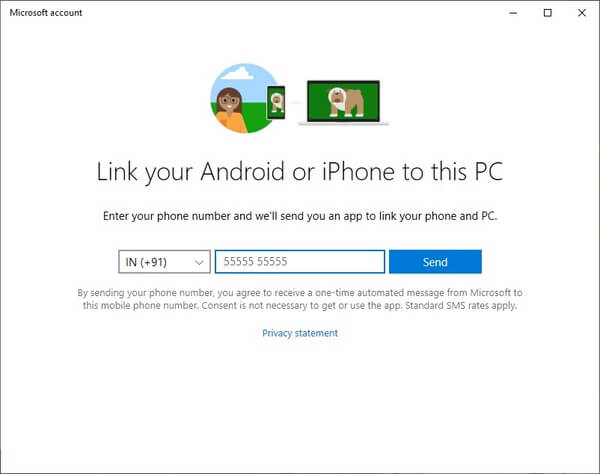
- Microsoft will then send you an SMS on the number you’ve just entered. The SMS contains a link to the Your Phone Companion app on the Google Play Store. The 6th and 7th steps are, for some reason, unavoidable even if you were smart and had the app already installed on your phone.
Also Read: A Complete Guide to Using Microsoft Launcher on Android
Configure your Phone Companion on your Android
- Launch the app on your phone, check the box next to My PC is ready and tap the Connect my PC button.
- Next, select Sign in with Microsoft and sign in with the same Microsoft account you used to sign into the Your Phone app on your Windows 10 PC.
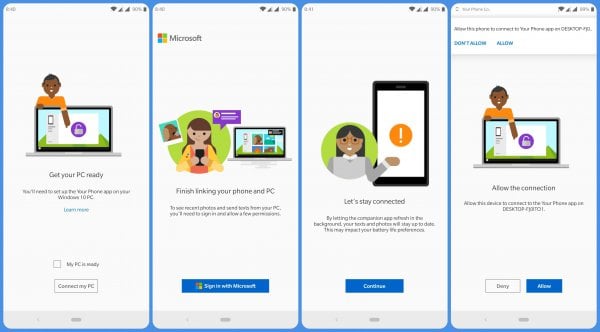
- After signing in, tap Continue and grant all the necessary permissions the app asks for.
- At last, you will be asked to “Allow this device to connect to the Your Phone app on your-pc-name“. Tap on the Allow button.
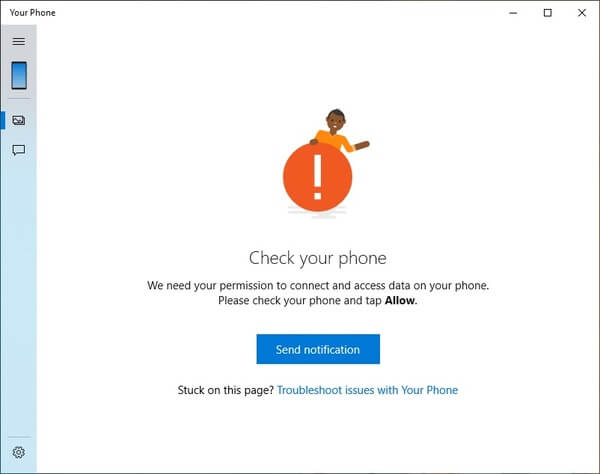
- It is possible that you don’t see the last permission on your phone in which case, just click on the Send notification button on the Your Phone app on your PC. You are pretty much done with this step.
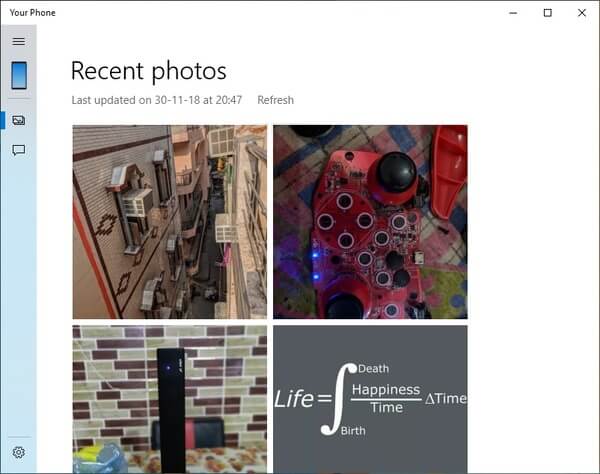
You should now be able to see your most recent photos on the app on your PC. If you click on Messages on the left column, you should also be able to see all of your SMS messages. The app even lets you respond to messages directly or create new messages.
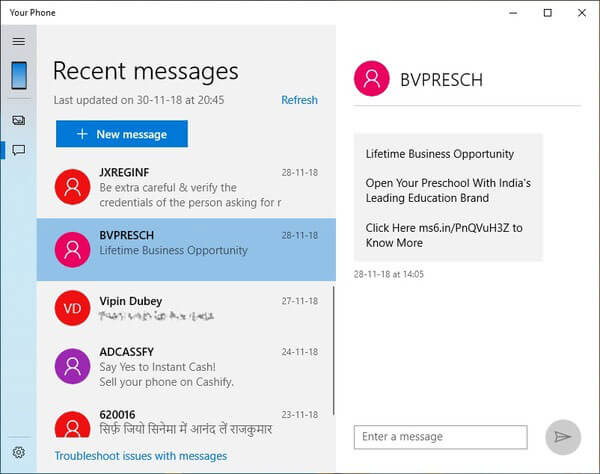
But there are some things you may have to take care of in order to make sure you can always see your photos and your texts on your PC.
Related: How To Get Missed Call Notification On Windows 10 From Android
Troubleshooting
While your Android phone and your Windows PC are connected, you’ll see a persistent notification on your phone, reminding you of the same. This is necessary to make sure Android does not kill the companion app in the background. It does not always work though thanks to the various implementations of Android by the various Android phone manufacturers. To make sure your Android stays in sync with Windows, exclude the Your Phone app from battery optimization settings.
Exclude your Phone app from Android Battery Optimization
Manufacturers like Huawei have their own EMUI custom skin running on top of Android. They also have some aggressive battery optimization settings. This ultimately leads to the app being killed, regardless of the persistent notification. In order to ensure that doesn’t happen, just make the system not optimize the app.
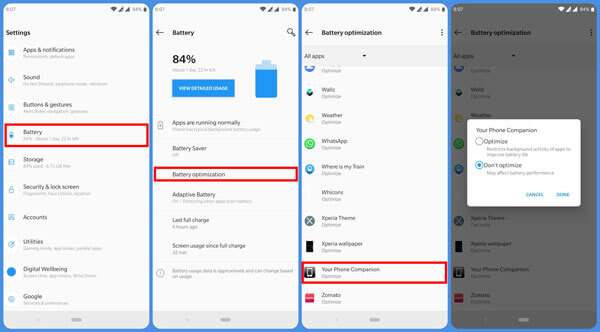
On your phone, Go to Settings > Battery > Battery optimization. You will then see a list of almost all the apps installed on your phone. Scroll down all the way and select the Your Phone Companion app. Select Don’t optimize and then select DONE.
Unlink the Phone from Windows
Sometimes, you won’t be asked to allow the last connection permission on your phone. You can click the Send notification button any number of times but it probably won’t do anything. In that case, head over to account.microsoft.com/devices, and sign-in with your Microsoft ID. Among the list of your devices, click Unlink this phone under the phone you’re having problems with. Now go ahead and try to connect again.
