Medical ID on your iPhone helps others to get your medical information in case of an emergency without unlocking your iPhone. It is a life-saving feature, but only when you have the right information about yourself in it. You can edit Medical ID on your iPhone to enter your medical information for emergency situations.
Here we will let you see how to edit medical ID on iPhone in a jiffy.
How to Edit Medical ID on iPhone
Your Medical ID on your iPhone is where you should add all your medical information. This includes your health conditions, medications, allergies, blood group, emergency contacts, and more.
Related: 9 Custom Settings to Improve iPhone Experience for Seniors
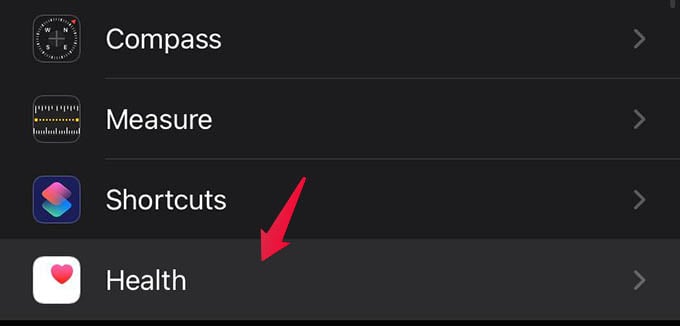
To edit Medical ID on iPhone, first, open the Settings on your iPhone. From there, scroll down to see Health. Tap on it.

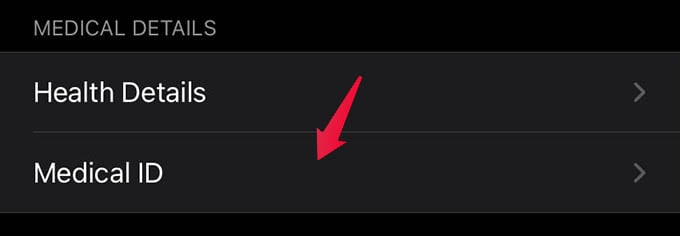
Next, tap on Medical ID from the next screen.

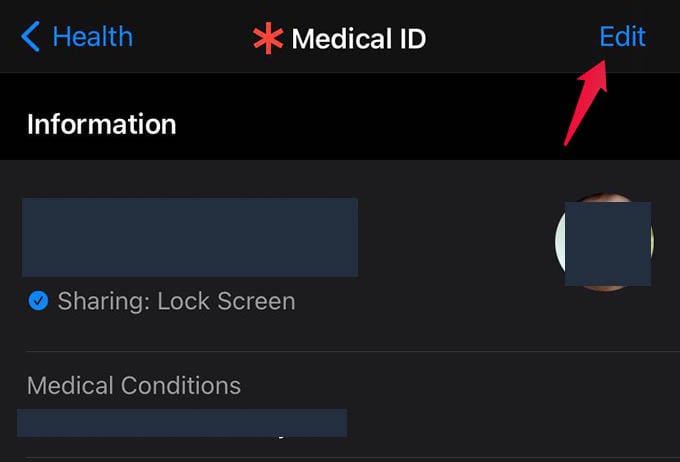
This is where you will find all your Medical ID information. Scroll through them to see if they are good.

If your Medical ID is not good enough, tap Edit on the upper-right corner.

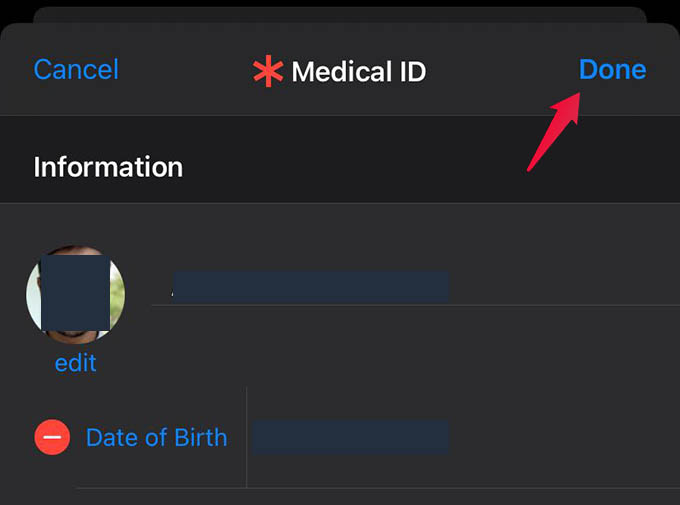
Now, a popup screen will appear with Medical ID editing options. You can set your photo, name, blood group, and other information here.
Plus, you can add blood group, date of birth, and all as well. You can also scroll down to see your emergency contact. Tap Done at the top to save changes.
Related: 12 Best iPhone Health Monitoring Devices: The Best Apple Health Devices to Ensure a Healthy Life
Once you save the changes you made on Medical ID, it gets updated instantly. Whoever accesses your Medical ID on iPhone next time will see your new Medical ID information. There is no limitation in what you can add when you edit Medical ID on iPhone. You can include your doctor’s contact, medical notes, allergies, and whatnot.
