Be it a family event or a vacation trip, Facebook helps you to quickly share your photos with hundreds of people at once. However, you need to be careful about your privacy settings so that your photos will not be visible to irrelevant people or scammers. If your photos are already visible to everyone out there, you might want to hide them.
In this post, let’s see how to make your Facebook photos private by modifying the privacy settings.
Content
Hide Photo Albums on Facebook
Do you love to share all your vacation photos on Facebook with your friends? For some reason, if you don’t want others to see some photos taken on a trip, you can hide that specific album by changing the settings. Let’s see how to do that.
On any browser on your computer, log in to your Facebook account. From the home page, click your profile picture to go to your Facebook profile. Then, click on the Photos tab.
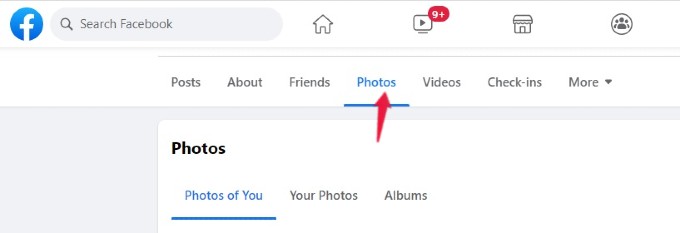
Here, you can see all the photos uploaded by you under three categories: Photos of You, Your Photos, and Albums. Go ahead and click Albums.
Go to the album for which you need to change the privacy settings and click on the three-dot icon. Next, in the pop-up menu shown, click Edit album.

On the new page, look for the title Edit Album. Under that, you will see an icon titled Friends, Public, etc depending on your current setting. Now, click on that icon.

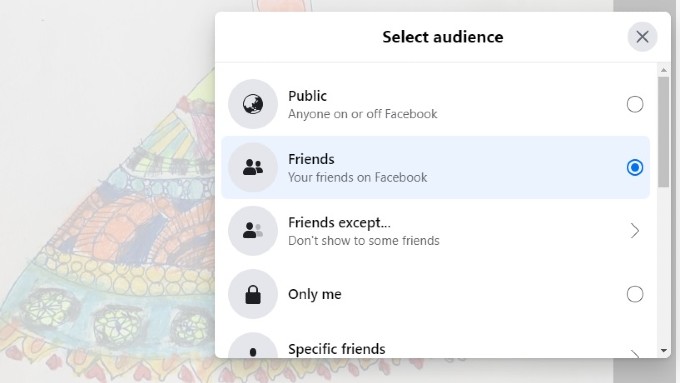
Then, you will see a pop-up window titled Select audience with multiple options. If you want to hide that album from all your friends, then select the option Only me.
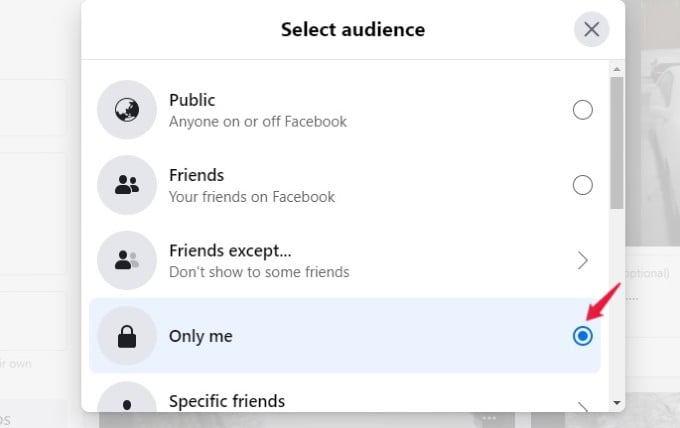
Or if you wish to hide the photo album only from specific people, then select Friends except and add all the contacts you don’t want to provide access to your album.
Also, you can create a custom list from your contacts like colleagues, family, close friends, etc, and only allow them to view your album. For that, you need to select Custom and follow the on-screen instructions to change the audience.

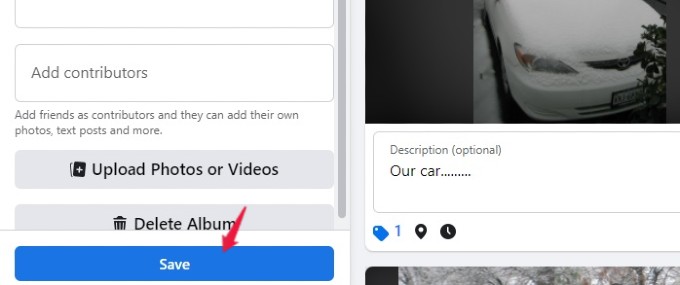
Once you finish selecting the audience for your album, click Save on the left to save your changes for the album.
Related: How to Adjust Facebook Privacy Settings to Keep Your Privacy?
Hide Individual Photos on Facebook
You don’t wish to hide the entire album, but want to keep only certain photos private on Facebook? It may be a cover photo, timeline photo, or even your profile photo. Let’s see how to hide individual photos on Facebook.
On your profile, click the Photos tab and open the photo you need to hide from others.
From the next screen, you can see the preview of the photo on the left. On the right, click the three-dot icon shown next to your name. From the list of options displayed in the pop-up menu, click Edit audience.
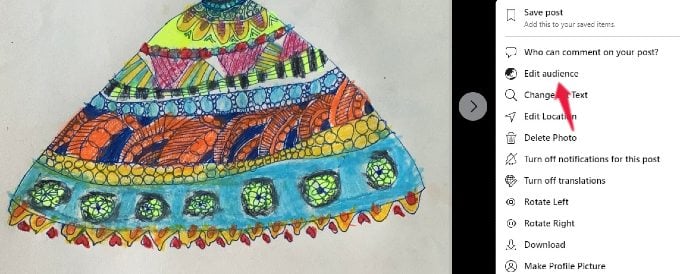
Now, you will see a new pop-up window titled Select audience. As explained in the previous section, you can restrict the access to only you or your friends or create a custom list.
Related: How to Move Facebook Photos to Google Photos
Hide Tagged Photos on Facebook
Let’s say that you are a privacy-conscious person and someone has uploaded a photo of yours and tagged you as well. Since the photo is not uploaded by you, you cannot change the audience settings. Either you can request the person to remove the photo or you can remove the tag so that the photo will not be displayed on your profile.
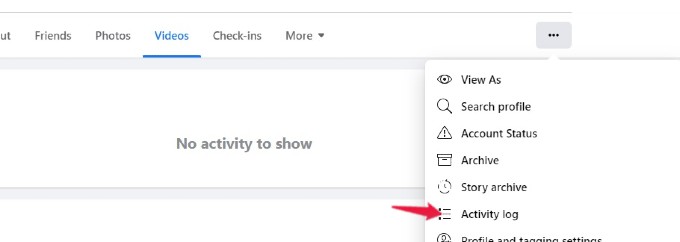
From the homepage of your Facebook account, click your profile picture. Then, click the three-dot icon displayed near the tabs Posts, About, Friends, and more.

In the pop-up menu that appears on the screen, click Activity log.
In the new screen titled Activity log, click the drop-down Activity You’re Tagged In. Then, click the option Photos you’re tagged in under that.

On the right side of the screen, you will see all the posts and photos that you were tagged in. Select the photo you need to hide and click the three-dot icon displayed near that.
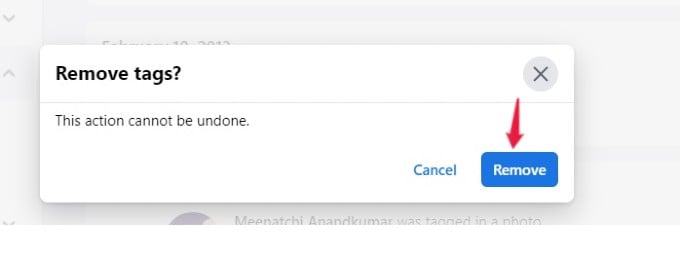
Next, click Remove Tag from the menu and then click Remove in the confirmation pop-up shown.
That’s it. Now, that photo will not be visible to your friends anymore.
Related: How to Stop Instagram Story Sharing to Facebook Automatically
Hide Your Photos on Facebook from Your Phone
Are you someone who uses Android or iPhone to check your Facebook account? Of course, you can change the privacy settings and hide your photos by using the Facebook app on your smartphone.
Open the Facebook app on your phone and tap your profile picture. Then, keep scrolling till you see the Photos. Tap Photos and then tap Albums.
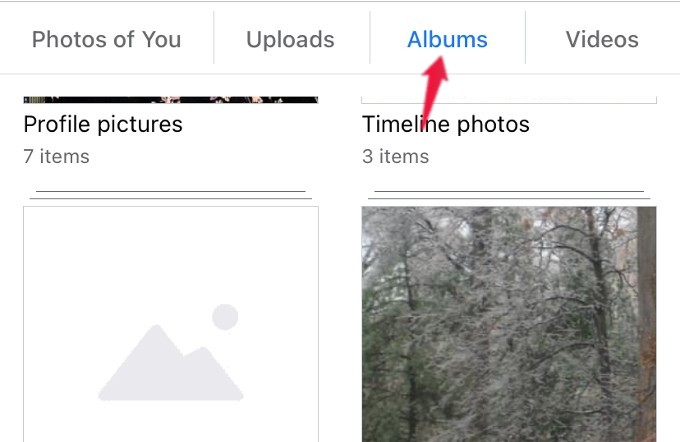
On the album screen, tap the album you want to hide. Next, tap the three-dots icon on the top right and then tap Edit album shown on the bottom.
In the screen titled Edit album, tap on the icon that shows the audience like Friends, Public, etc. You can then select Only me to hide the album from all your friends or can select the other options like Friends, Specific friends, and more.
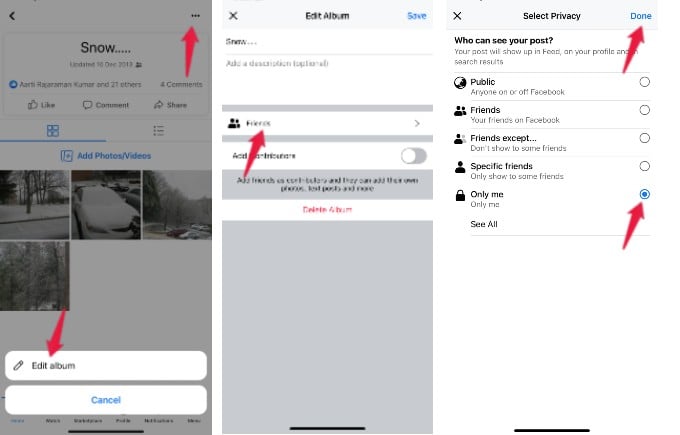
Once you had selected the audience type, tap Done on the top right.
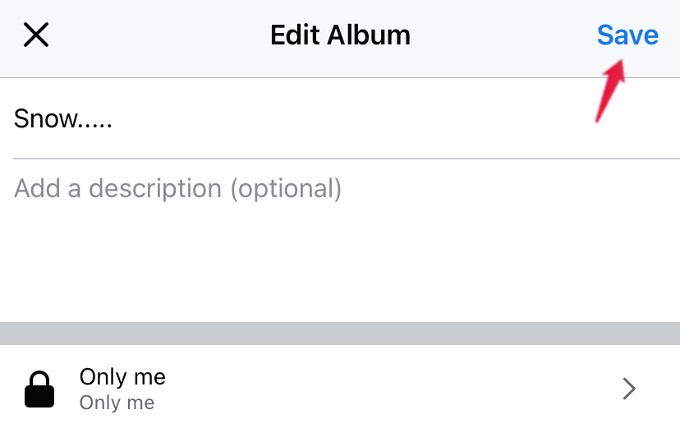
Then, tap Save in the Edit Album screen to save the changes.
Related: How to Retrieve Deleted Messages on Facebook Messenger
Likewise, you can also change the privacy setting of an individual photo like your profile photo from the Facebook app on your phone.
