
If you use Google search or any other Google services like Gmail, it is fair to assume you are familiar with Google Drive. Google Drive is basically for backing up and syncing your files and folders. We require data backup and syncing of our crucial documents and other files and frequent access of data needed. You can directly backup and restore files very quickly and easily by adding Google Drive to File Explorer in Windows 10.
This guide gives you a few simple steps to be executed to add Google Drive to File Explorer. Without further ado, let’s get started.
Add Google Drive to File Explorer
Google Drive on Windows 10 PCs comes with the name “Backup and Sync.” The backup solution helps you easily backup Windows files to Google Drive automatically. You will need to install “Backup and Sync” on your Windows 10 PC to get started.
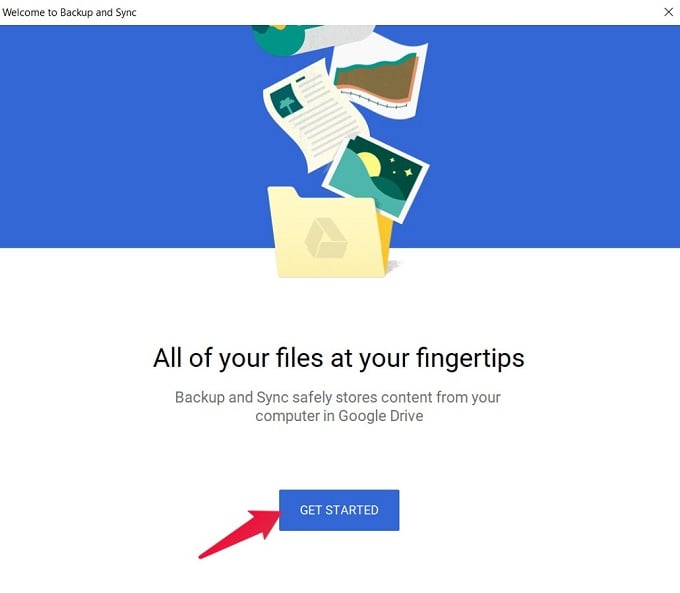
- In the backup and sync welcome pop up, click the “Get Started” button.
- Key in your Google account’s Username and Password credentials and click on “Next.”
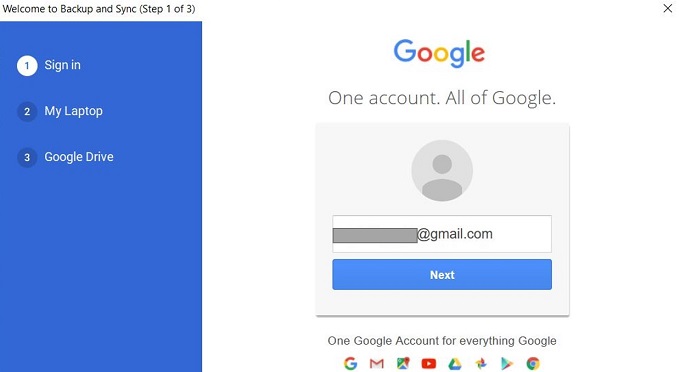

- If you enabled 2-key authentication, sign-in using your smartphone.
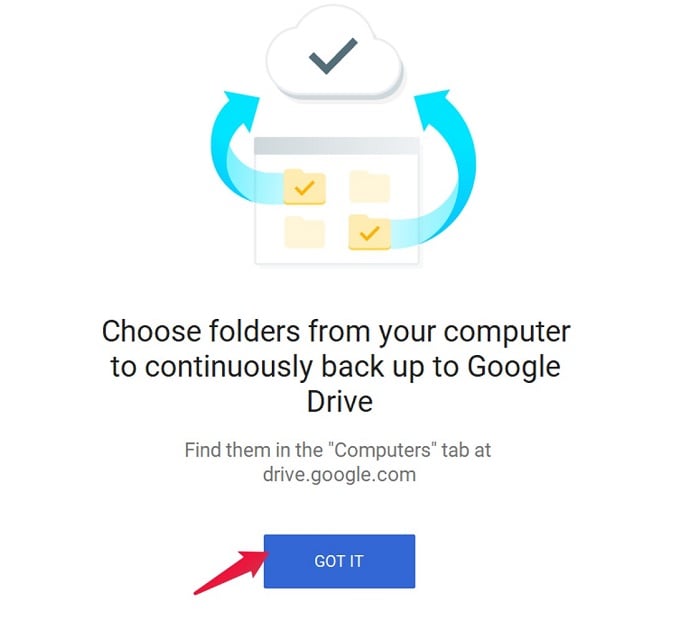
- After you authenticate successfully, you need to select the folders on your PC for backing up. Click on “Got it.”
- By default, the Documents, Desktop, and Pictures folder are selected by the application. Select the ones you wish to backup. Click on “Choose Folder” to browse to your desired folders.
- Google Drive provides you with three options while uploading pics and videos: High Quality, Original Quality, Google Photos.
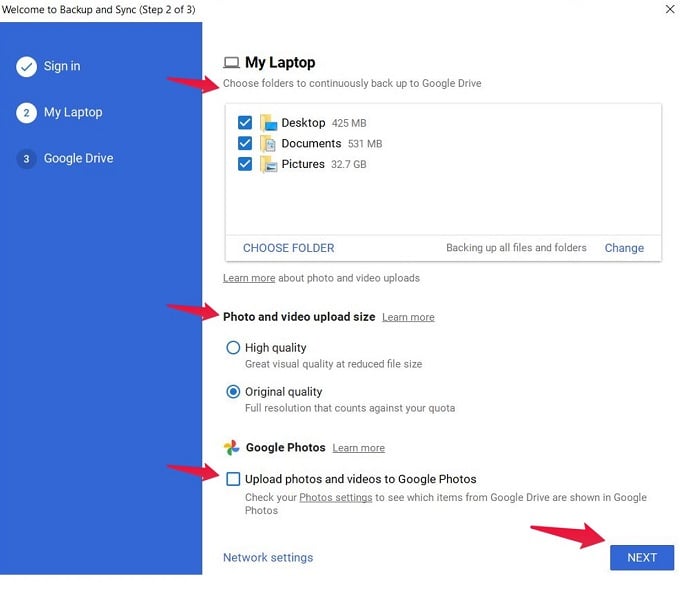
- Once these configurations are complete, click on the “Next” button.
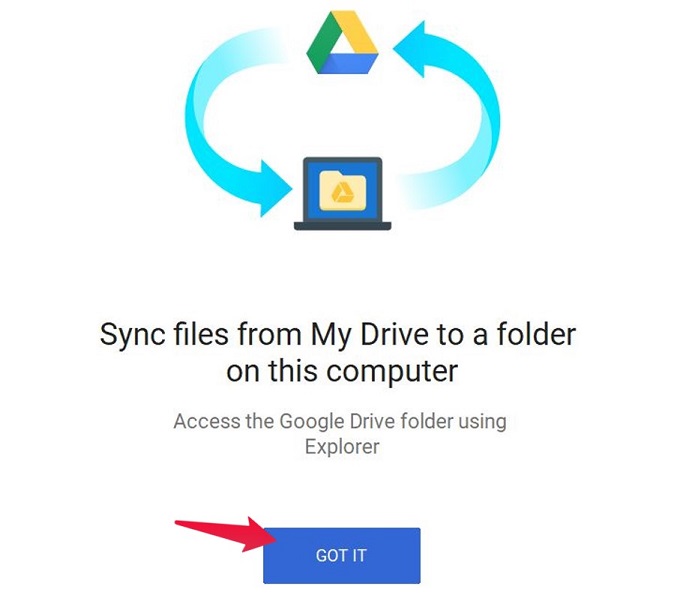
- In the next step, Google Drive lets you sync files from Google Drive to your PC, if there is any previous backups. Click the “Got it” button to continue.
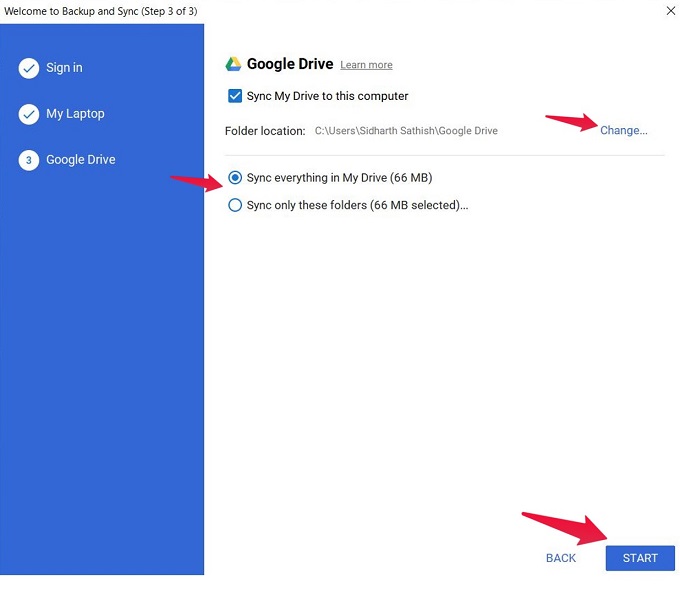
- As the final step to add Google Drive to File Explorer, you can sync “My Drive” to your computer. Checking it will add Google Drive to File Explorer. The default path is “C:\Users\Username Folder\GoogleDrive.” You can either opt for the same path or click on “Change” for a different storage path.
- Next, you are provided with two options to select which folders from your Google Drive you wish to sync with the local copy – “Sync Everything in My Drive” and “Sync only these folders“.
- Once you complete these configurations, click on the “Start” button to perform the data download.
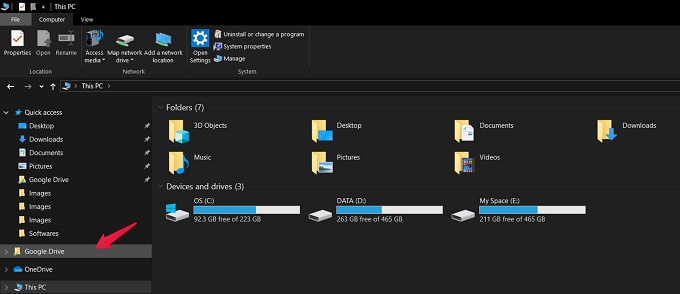
- Notice the Google Drive folder in the Quick Access panel on the left side of the Windows 10 file explorer screen.
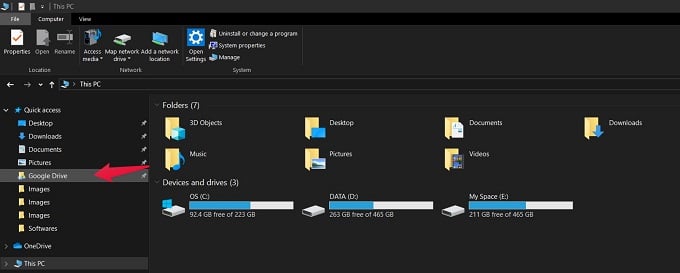
- Click on the Google Drive folder. This action will open the location which you selected. (The default path is C:\Users\Username Folder\GoogleDrive )
With these steps, you have completed the add Google Drive to File Explorer on Windows 10 system.
Add Google Drive to File Explorer Sidebar
Once you are done with enabling the Google Drive backup and sync on Windows 10 PC, you can add Google Drive to File Explorer sidebar. We had brought the Google Drive folder icon only to the Quick Access panel in the previous section. But using these few simple steps, you can add Google Drive as a separate entity.
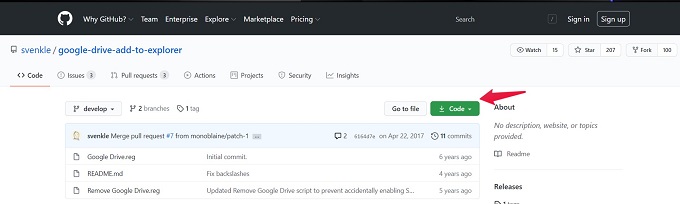
- Visit the GitHub website. Click on the “Code” button. This action will download the ZIP file for Google Drive.
- Once the download completes, locate and extract the contents of the ZIP file.
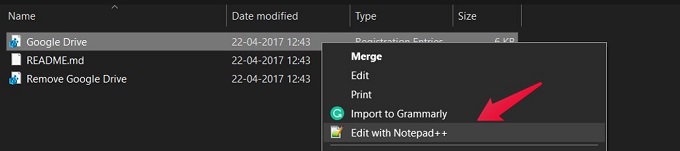
- Please right-click on the Google Drive.reg file and open it with your text editor. (Notepad or Notepad++ will be sufficient.)
- Next, you need to find and replace values of TargetFolderPath with the entire address path of your local Google Drive folder. For e.g., if you chose the windows-provided default path – C:\Users\Username Folder, then replace all the TargetFolderPath values such as “TargetFolderPath” = “C:\\Users\\Username Folder” . Ensure you give the double-backslash (\\) instead of the single-backslash.
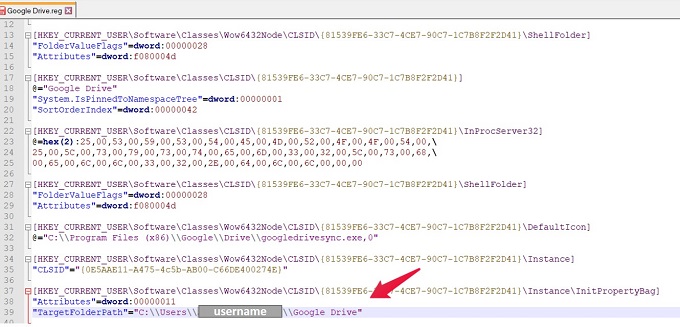
- If you opted for a custom address path (For e.g. E:\MyFolder\GoogleDrive) for Google Drive folder, give the TargetFolderPath as follows: TargetFolderPath” = “E:\\MyFolder\\GoogleDrive”.Do not forget to give the double-backslash (\\) instead of the single-backslash.
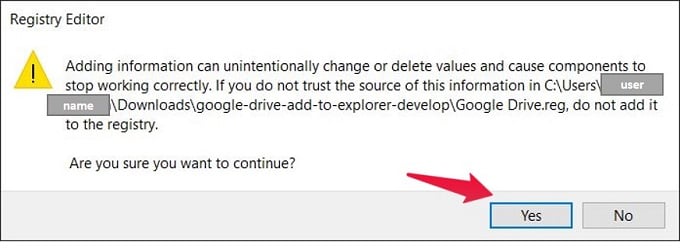
- After you finish replacing all the TargetFolderPath values, save the Google Drive.reg file and click on it to run it. Click on “Yes” if any UAC permission request shows up.
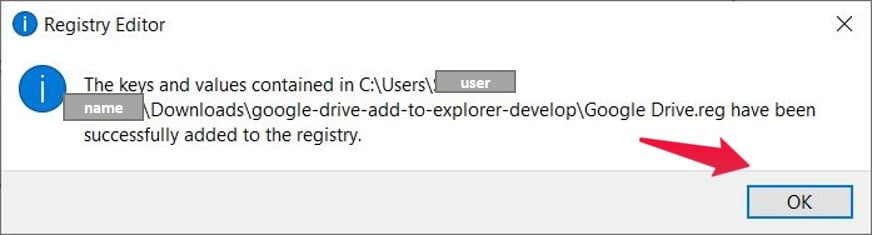
- Click “Ok” when Windows tells you that new keys and values are added to the registry.
- To view your result, open the file explorer. There you have it; Google Drive shows up as a separate entity in the file explorer sidebar.
In case you wish to reverse this change at a later point in time, you can go back to the ZIP file contents and Remove Google Drive.reg. It will remove the Google Drive folder from the sidebar. It is as simple as that!
Related: How to Copy Files from iCloud Drive to Google Drive
We hope you found it quick and simple to add Google Drive to File Explorer using a few easy steps. If you find any other smart methods to perform the same task, do let us know by commenting below and share your valuable thoughts.
I didn’t edit the .reg file first! Can you tell me how to get rid of this error?
c:\users\Chris.000\Desktop\%UserProfile%\Google Drive is unavailable….
Undo reg didn’t work, removing reg entries manually didn’t help. Can find this in the registry and can’t unpin from my Quick Access list.