
Recently, both macOS and Windows have been playing with blurred backgrounds a lot. Comparatively, Ubuntu looks rather old and not modern. If you have been wanting to get the macOS-like transparent effects for the app windows on your Linux, there are ways to enable it.
Here is how you can get macOS like blurred windows on Ubuntu.
Enable Blur Effect for GNOME Shell on Ubuntu
The GNOME shell has made use of transparent elements in the past as well as the present. However, GNOME has always tried keeping that to a minimum. There are a few extensions that do let you apply blur to these transparent elements. The GNOME shell blur applies to the top bar, the dash, as well as other parts of the shell.
One of the best extensions for this is called Blur My Shell. If you’re unfamiliar with GNOME and its extensions, you can check out our article to get and install GNOME extensions on Linux.
Get Transparent Windows in Linux
The shell isn’t the only interface area that uses transparency and blur on Windows or macOS. You can make all the other windows in your Linux PC look like Mac by applying translucent and transparent effects to them. Here are the steps to make Linux windows look like macOS with a transparent blur effect.
Step 1: Make Rounded Window Borders in Linux
The first step is to make the window corners rounded like in macOS. For that, we can use the “mutter-rounded” package. For the initiated, Mutter is the window manager used on GNOME, responsible for, well, managing windows. While Mutter doesn’t officially support blurred windows, there is a patched version of Mutter, that does, called mutter-rounded.
Editor’s Note: This is a third-party patch that can potentially break things on your Linux PC. Proceed at your own risk.
Here is how you can install the mutter-rounded with transparent window support.
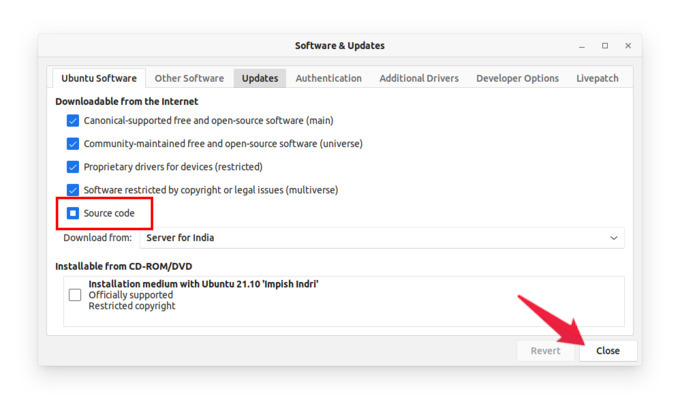
- Open Software & Updates on your Linux PC.
- Check Source code and click Close.
- Now, open the Terminal from the dash or press Ctrl+Alt+T.
- Enter this command to clone the mutter-rounded repository:
git clone https://github.com/yilozt/mutter-rounded - Next, access the cloned Ubuntu directory in the cloned repository with this command:
cd ./mutter-rounded/ubuntu_21.10 - Use the included script to build an installable deb package with this command:
./package.sh - Finally, install mutter-rounded with this command:
sudo dpkg -i *.deb
Building the packages will take quite some time, with a lot of text output shown in the Terminal. You may feel like it’s getting nowhere, but it is, so just wait for it to finish. Installing the packages can also take a little while, similarly.
Once the installation is complete, you won’t notice any difference immediately. You can check if mutter-rounded was installed by trying to change the window border-radius. First, use the following command in the Terminal to check the default window border-radius.
gsettings get org.gnome.mutter round-corners-radiusYou will probably get 14 in return. Next, try changing it to something else, such as 16, or 8. You can do this with the following command.
gsettings set org.gnome.mutter round-corners-radius 18
Replace 18 with any value you prefer, but try not to enter large values. You can immediately notice the change on any open Windows. Gnome does not apply rounded corners to the bottom of the windows by default. With mutter-rounded, you also get GNOME rounded corners on the window bottoms.
Related: How to Install DEB File on Ubuntu and Linux Distros
Step 2: Enable Mac-Like Window Blur in Linux
Like most GNOME settings, the window transparency and blur can also be changed from the Terminal. However, it is much easier to use a GUI tool such as Dconf Editor.
- Open the Terminal from the dash or press Ctrl+Alt+T.
- Install Dconf Editor with this command:
sudo apt install dconf-editor - Open Dconf Editor from the dash.
- Go to org > gnome > mutter.
- Here, you’ll find the blur related settings such as brightness, opacity, etc.
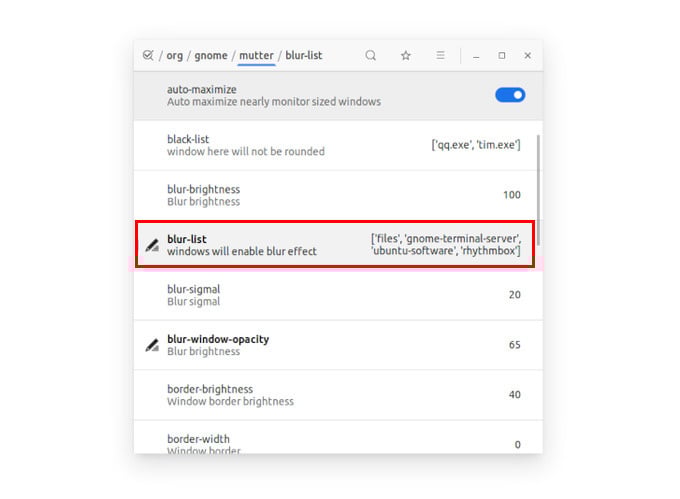
- Select blur-list.
- Turn off the toggle next to Use default value.
- In the input box below, enter the name of the window that you want to apply blur to inside the brackets within quotations. For example, to apply the blur to the Terminal, type [‘gnome-terminal-server].
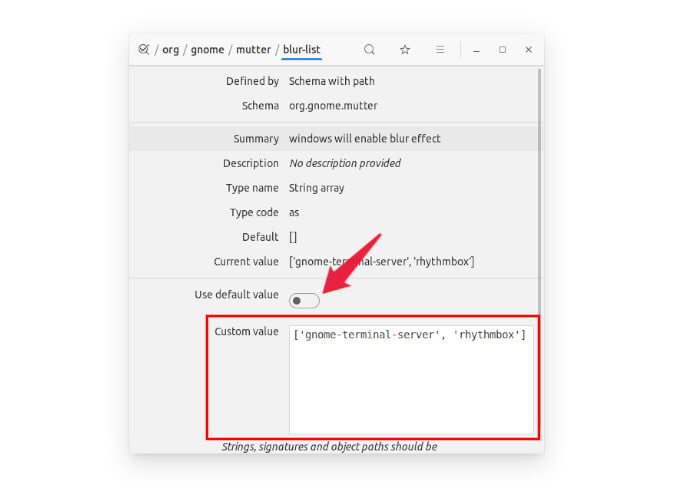
You can add multiple windows with a comma as shown in the screenshot above. Since this is a patch, and blurred windows can cause problems, this is an opt-in feature rather than an opt-out. So you will have to manually add windows by their class to make them transparent. Another thing to note is that this makes all parts of the window transparent.
Related: 6 Best Chrome OS Alternatives for Linux Users
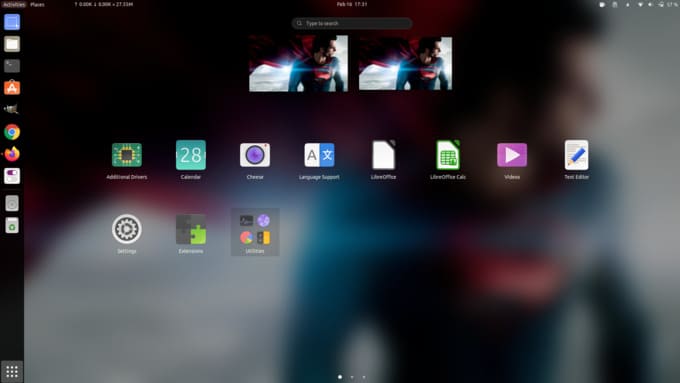
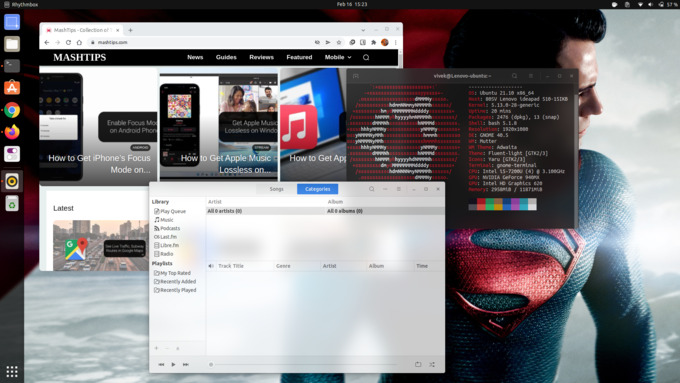
This is it. Your windows will look like in the above screenshot once you finish setting up all the steps. The blur effect for windows on Linux looks really cool, but it may affect the performance of your system. If your PC hardware can handle basic graphics requirements, you can work smoothly with the transparent window effects on your Linux PC.