
Windows 11 made the settings easier to access. Now, you can even quickly change the DNS settings and set the data limit on your Windows 11 PC real quick. So there are chances we tweak the network options more often and sometimes things can go wrong. If your PC does not work or got some error with the network, you may need to perform a network reset on Windows 11 PC.
Let us find out how we can reset all the network settings in Windows 11.
Reset Network Settings from Windows 11 Settings
The settings panel on Windows 11 provides a dedicated option to reset Windows 11 network settings in one click. This will uninstall all the network drivers and adapters on your system and reinstall them. You will lose all your manually added VPNs, DNS Settings, proxy networks, or any other settings related to network connectivity. Let’s begin.
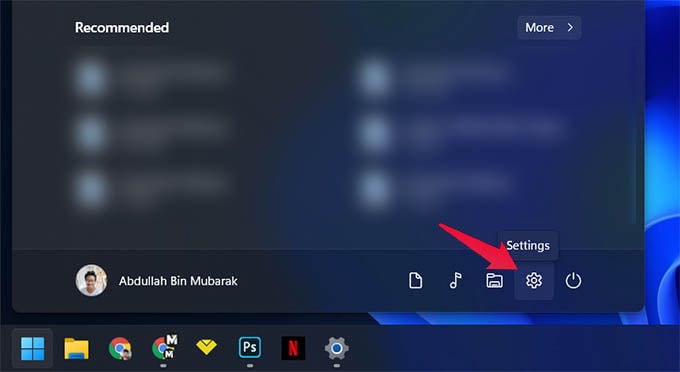
On your Windows 11 PC, open Windows Settings from the Start menu or by pressing Windows Key + I.
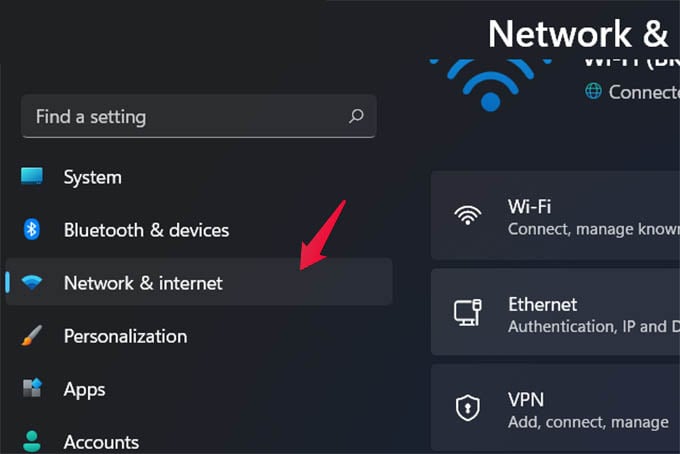
Go to Network & Internet from the settings main window.
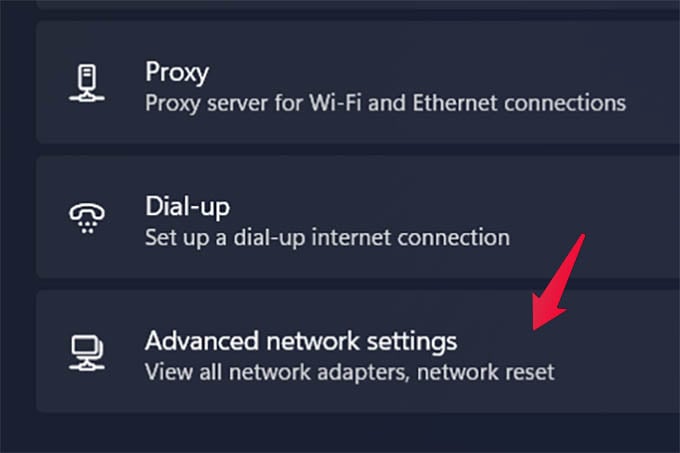
Click on Advanced Network Settings at the bottom of the screen.
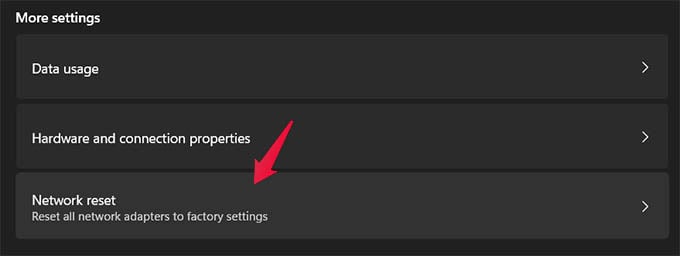
Under More Settings, click on Network Reset.
From the next screen, make sure you read the warnings and messages on the screen before clicking “Reset Now.”

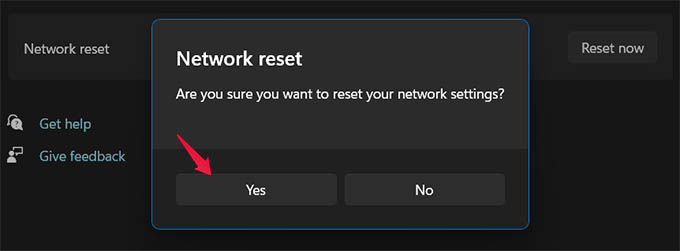
Now, confirm to reset the network settings on your Windows 11 PC.
While resetting, your PC or laptop will disconnect from the internet for a little while. You will be back online once the network adapters are reinstalled.
After the reinstallation, your PC must get rid of whatever problems have been causing issues with the internet connection. If your PC still does not have internet while connected to WiFi, check out our troubleshooting guide.
Reset Network Settings Using CMD
Sometimes, the Windows Settings may not work correctly. If the above steps did not go well as planned, you can still do a network reset on Windows 11 using the command line.
For that, open the CMD window by pressing Windows Key + R and entering CMD. You can instead search for Command Prompt in Windows Search and open the same.
On the command window, each of the following commands one by one (hit Enter after each line) to reset the network settings on your Windows PC.
netsh winsock reset
netsh int ip reset
netsh advfirewall reset
ipconfig / flushdns
ipconfig / release
ipconfig / renew
Once you enter all of the above commands, restart your computer after quitting whatever else you were doing. When your computer restarts, you can see your PC has restored the network options and is connected to the internet. This will also fix any issues due to some errors that occurred with your network settings.
Related: How to Use Windows 11 Battery Saver Mode to Get Maximum Battery Backup
You will only need to reset network settings on a PC if you get no internet at all or something goes wrong after you changed some network settings. Hopefully, both the above methods will fix your issues by resetting network settings on Windows 11.