
It is always recommended to get a backup of your iPhone every now and then so that you can retrieve all your data back if something goes wrong. Usually, it’s just iTunes we rely on for backing up iPhone. Mac users can use the Finder to take a full iPhone backup but if you do not have access to a computer, things become harder. Well, there are alternate ways you can backup your iPhone and restore them later without iTunes or even a computer.
Let’s begin.
Backup iPhone Data Using iCloud
The easiest way to backup your iPhone without using a computer is to use Apple’s iCloud storage. The iCloud backup allows you to take a copy of almost all your data and settings from your iPhone. And, the biggest advantage is that you don’t need to use a cable to plug your iPhone into the computer. Plus, the iCloud backups are always encrypted to secure your data.
Apple offers a free iCloud storage of 5 GB only. If you need more storage, then you can buy the subscription plan of 50GB, 200GB, or 2TB. With the Apple One Premier plan, you can get up to 4 TB of cloud storage. To backup your entire iPhone to iCloud, you need any of the iCloud+ subscription plans since you need exactly the same amount of storage in iCloud as in your iPhone.
The only requirement you need to use iCloud backup is a WiFi network. Backing up on cellular data will be a pain in the neck. Now, let’s see how to backup your iPhone data using iCloud.
Before starting, make sure you have enough iCloud storage, iPhone is plugged in and is connected to high-speed WiFi.
Tap Settings on your iPhone and then tap on your name located at the top of the screen.

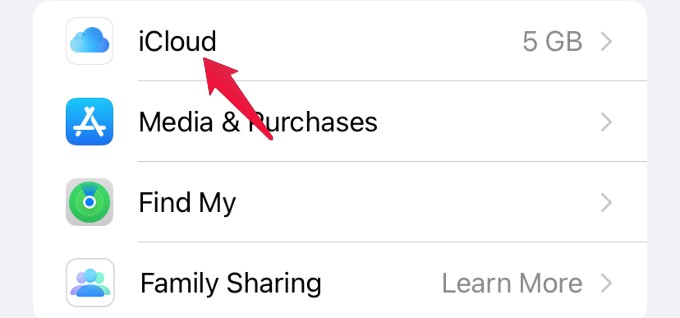
From the next screen, under APPLE ID, tap on iCloud.
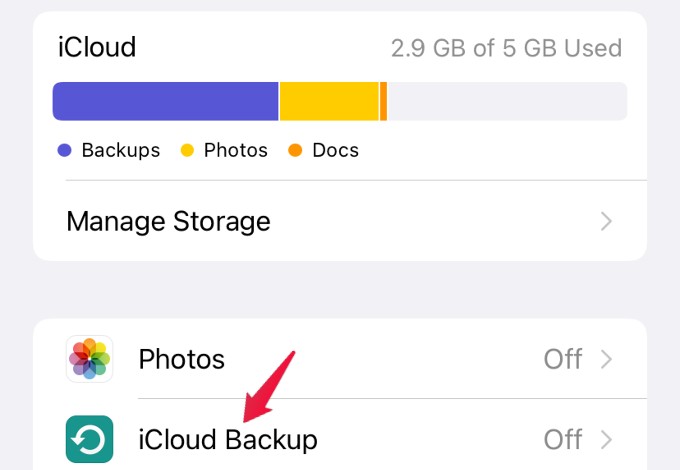
From the list of options shown, tap on iCloud Backup.
Automatically Backup iPhone to iCloud
Now, enable iCloud Backup. Once done, your iPhone will automatically backup your apps and data to iCloud, when your device is connected to power, locked, and on WiFi.
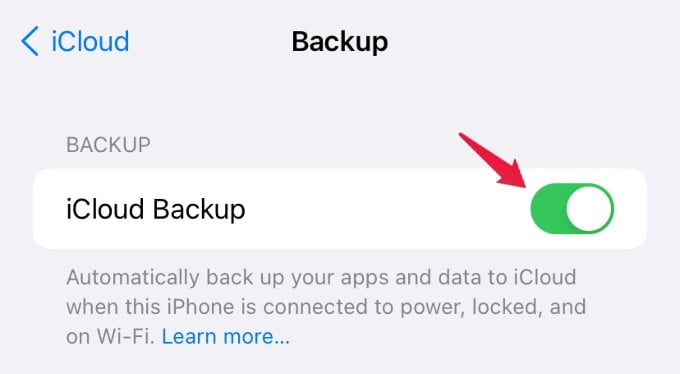
That’s it. Now, your device data will be automatically backed up and stored in iCloud, when your iPhone is locked and connected to power.
Related: 10 Best Cloud Storage Apps to Backup iPhone Photos
Manual Backup Using iCloud
When the iCloud Backup is enabled, your iPhone will back up whenever it is in the optimal state. But if you want to manually back up the iPhone to iCloud, there is an option for that too.
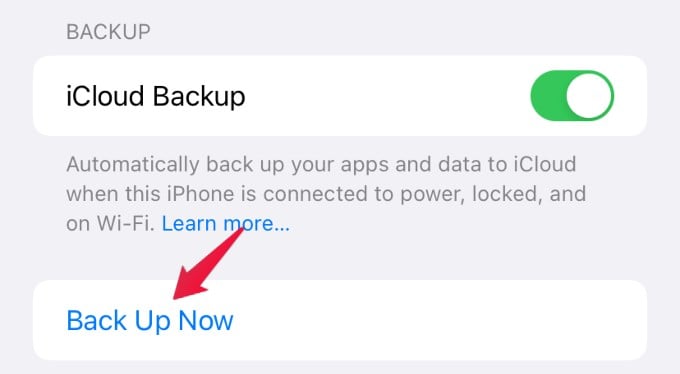
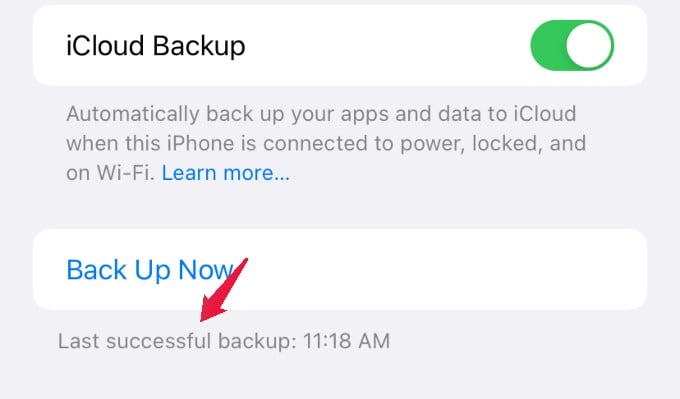
Like you did for automatic backup, navigate to the iCloud Backup screen. Then, tap on the option Back Up Now at the bottom of the “iCloud Backup” button.
After you tap on the Back Up option, your iPhone will start backing up your data in iCloud and you will see the progress on your screen like below. (You can tap on Cancel Backup if you want to stop the backup process).
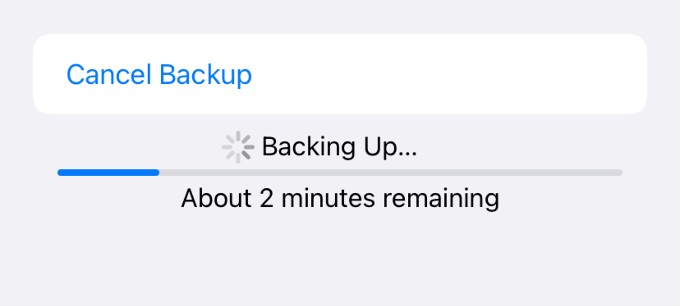
The estimated time for the iCloud backup process will range between 2 to 10 minutes or more based on your internet speed and the amount of data that needs to be backed up. After the process gets completed, you will see a success message with a timestamp as well.
Related: How to Transfer Photos from iCloud to Google Photos Quickly
Backup iPhone Data Using Google Drive
If the 5 GB iCloud storage is not enough and you don’t wish to spend money in buying a subscription plan, then you can make use of Google Drive to back up some of your iPhone data.
Google offers 15 GB of storage for a normal Gmail account. Second, you can make use of multiple Gmail accounts so that will get more storage to store your iPhone data.
Unlike the iCloud Backup, you can only store your contacts, photos, and calendar to Google Drive. Any other app data or iOS data cannot be backed up using Google Drive. Now, let’s see how to backup your iPhone data using Google Drive.
First, download and install the Google Drive app on your iPhone.
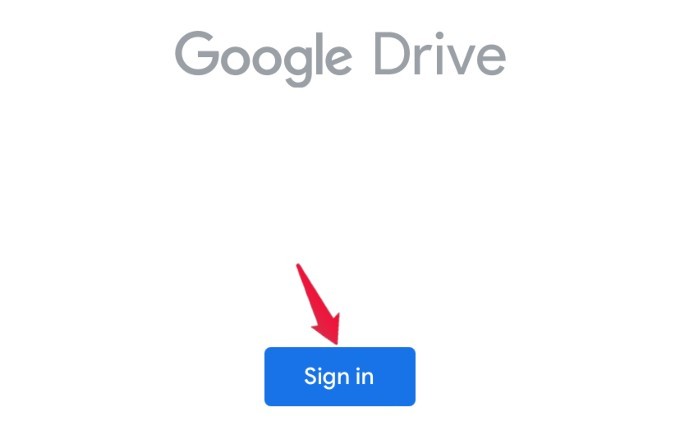
Then, launch Google Drive app from the App Library or from the Home Screen. When you are opening the app for the first time, you will see a Sign in button at the bottom. Tap on that and log in to your Gmail account with your credentials.
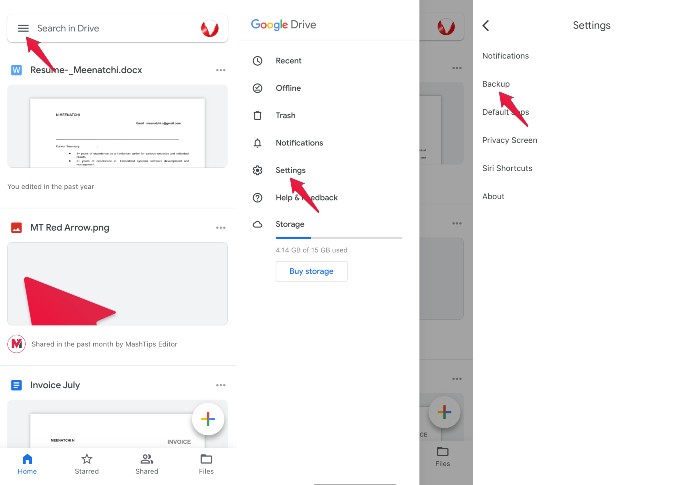
Now, you will be redirected to the Home screen. In that, tap on the three-line icon located at the top left of the screen. Next, tap on Settings from the list of options displayed. In the Settings screen, tap on Backup.
In the new screen, you will see three types of items listed: Contacts, Calendar events, Photos & Videos. By default, Google Drive will backup all these three types of data stored on your device.
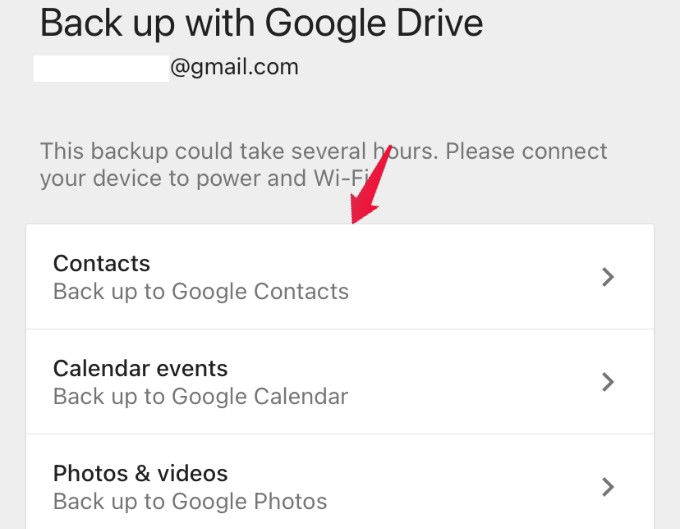
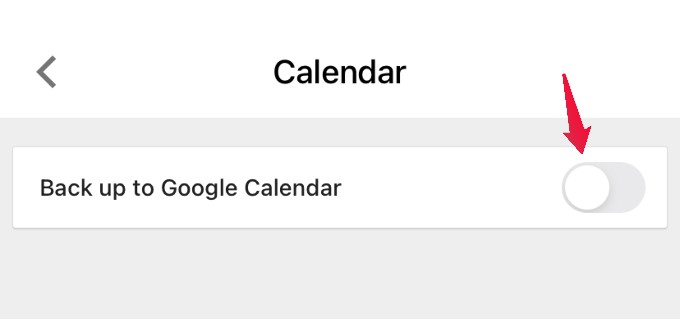
In case, if you don’t want to back up a particular data, (eg. Calendar events), then you can tap on Calendar events and turn off the Back up).
Now, to start the backup process, tap on the START BACKUP button located on the bottom right of the screen.

Then the backing up of data will get started and the progress will be displayed as shown below.
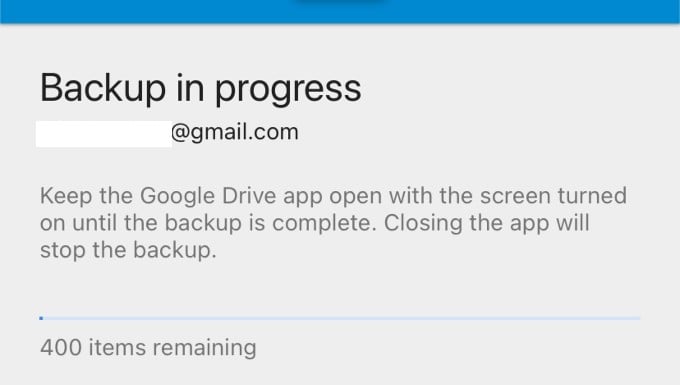
When the backup is completed you will see a success message. The estimated time for completion depends on your internet speed and the number of files you are copying.

If you want to back up your photos and videos to a Google account, you can make use of Google Photos. But make sure you are selectively backing up photos otherwise the 15GB storage will run out soon from your Google account.
Related: How to Secure Google Drive with Face ID or Touch ID on iPhone and iPad
In case you are looking to backup iPhone files from the “Files” app, we explained it in detail in our guide to copy files from iCloud to Google Drive.
It no longer matters whether you have a computer with you to take a full backup of your iPhone. Using iCloud Backup and Google Drive, you can backup your iPhone without iTunes or a PC.