
Apple AirPods are quite well matching with any Apple products, from iPhone to the Apple TV. You could be able to connect them to any Apple device in just 3 seconds and then sync the device across the devices using the same iCloud account. But when you want to connect Apple AirPods with Windows 10 PC or Android smartphones, steps become a little longer.
In this guide, we will walk you through how to connect Apple AirPods with Windows 10 PC or Laptop and make the use of extra features.
Do AirPods Work with Windows PC?
This is the most heard question when you put up a conversation about AirPods usability with a non-Apple user. The answer is definitely a “YES” and it is as same as connecting any other Bluetooth headphones. Despite all of its unique factors and Apple brand label, Apple AirPods is quite simply a Bluetooth headset that we find every day.
As a quality Apple hardware, you could get more range and quality in sound output than any other typical headphones. The rest of the facts remains the same as any other wireless earbuds. Not only you can connect Apple AirPods with Windows 10, but also with any other Bluetooth-enabled devices including game consoles, smartphones, TVs, etc.
How to Connect Apple AirPods with Windows 10?
As mentioned above already, you can connect the Apple AirPods with Windows 10 Laptops or PC over the Bluetooth connection. Since most of the Laptops these days come with inbuilt Bluetooth adapters, there is nothing you need to worry about. However, if you are using a Desktop PC, you should check for an adapter. If not found, you can get some cheap ones from Amazon.
After you go through with the checklist, now it is time to connect Apple AirPods with Windows 10 PC or Laptop.
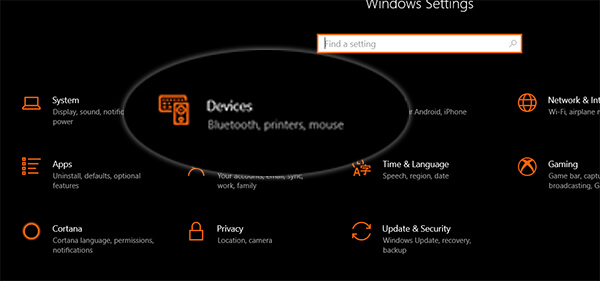
- From your Windows 10 PC or Laptop, open the Settings window.
- Click on Devices.
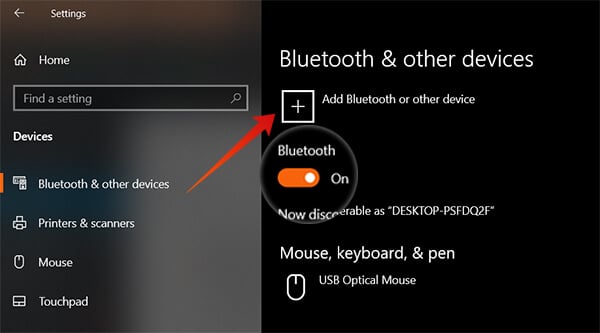
- Choose Bluetooth & other devices panel.
- Toggle on the Bluetooth connection.
- Click “Add Bluetooth or other devices.”
- Now, take the Apple AirPods on your hand, put the earbuds back.
- Open the lid, press and hold the pair button at the rear until a white light blinks.
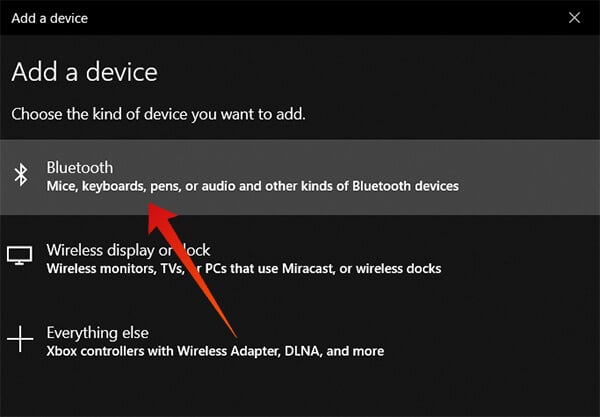
- Again on your PC, choose “Bluetooth” from the popup window.
- The system will start searching for the available Bluetooth devices.
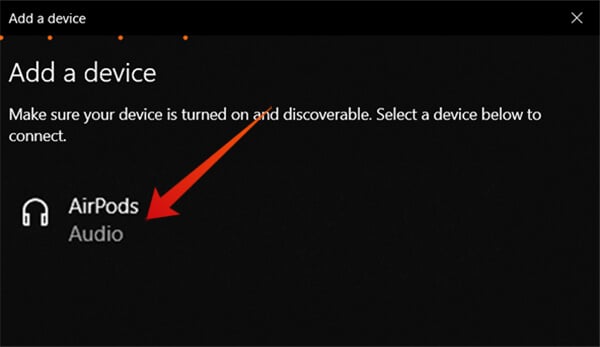
- Choose your AirPods when it is shown, and wait for it to pair with Windows.
Fix No Sound Output Issue with AirPods
After pairing with the Windows 10, your audio output will be switched from the default speaker out to the Bluetooth headset (AirPods). However, it might not be the case sometimes. If you notice the sound still coming out of speakers and not the wireless earphones, follow the steps.
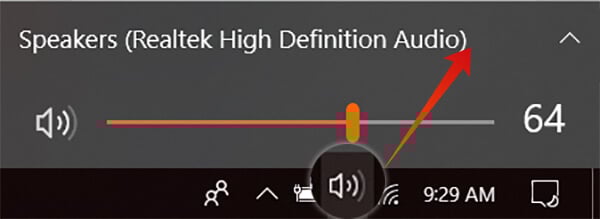
- Click on the Speakers/Sound icon among the bottom left taskbar pane icons.
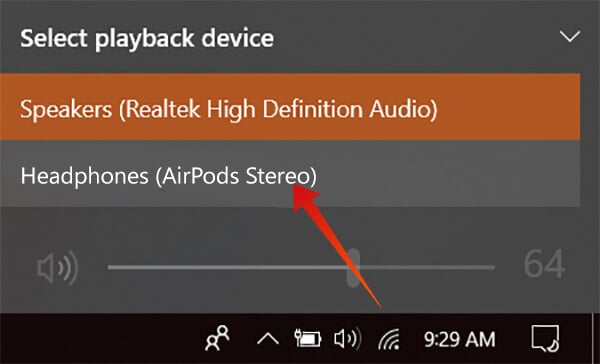
- Expand the Speakers list.
- Choose Headphones (AirPods) from the list.
I hope this fixes your issue. However, if you still are facing trouble in listening to the music using the AirPods, you can try resetting the AirPods or pairing with the Windows 10 PC again.
Also Read: How to Hard Reset Apple AirPods?
Reconnecting the Paired AirPods in Windows 10
Just because the AirPods made exclusively for Apple devices, does not make it harder to use consistently with a Windows 10 PC. As you went through, setting up the Apple AirPods involves lots of steps, but not that challenging. Once you paired an Apple AirPods with Windows 10, you can connect to the same device easily, unless you have not reset or connected with other devices.
Next time you want to reconnect, simply follow these steps to make sure you do not need to go through the initial setups again.
- Open the lid of your Apple AirPods.
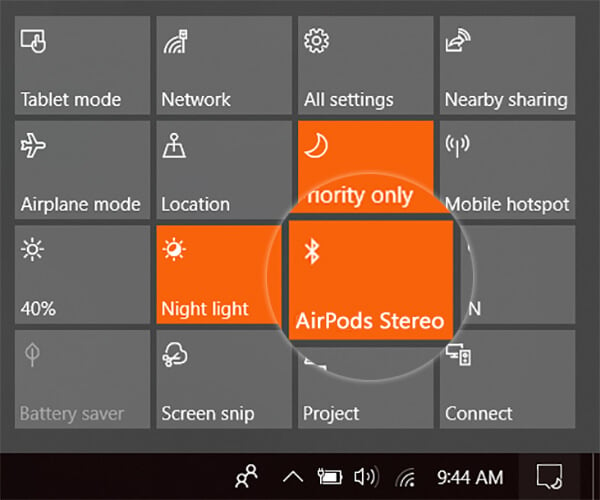
- Open Action Center on Windows 10.
- Turn on Bluetooth.
- In most cases, the Windows PC gets paired with Apple AirPods automatically since you already connected once.
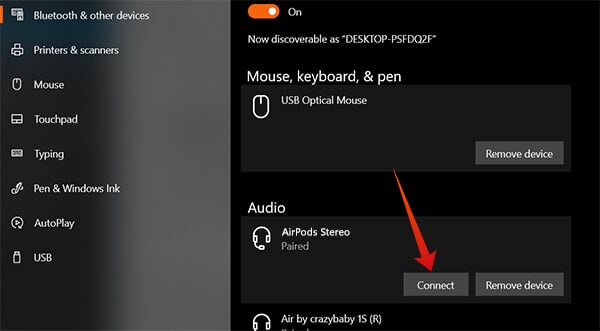
- If not connected, Open Settings > Devices > Bluetooth & Other devices.
- Click AirPods under “Audio” and choose “Connect.”
When you are done connecting the Apple AirPods with the Windows 10 PC, you can reset the AirPods and pair them with your iPhone. You would require an initial set up when you want to pair back with Windows 10 PC again.