
Staying private and safe while browsing online is important. Websites you visit can get your IP address and location. Even if you have not thought about it, you can now hide your IP Address on your iPhone without using a VPN and be safe from getting exposed to unwanted websites and hackers. The Private Relay with iCloud+ now lets you hide your IP address and location from the websites you visit.
Let’s see how to use iCloud Private Relay to hide browsing history on iPhone without a VPN.
Content
What Is iCloud Private Relay?
Apple refreshed the iCloud subscription plans on iOS 15 with some additional features including Private Relay. The new iCloud private Relay simply lets you encrypt your data, hide your IP address and location while browsing online. The Private Relay is not a VPN; that means your internet speed does not get slowed down with this. At the same time, you get other VPN benefits like hidden IP addresses and encrypted data transfer.
When you use Private Relay, your ISP, governments and even Apple will not know what websites you are visiting. The Websites you visit will get only a fake temporary IP address assigned by Private Relay. You are totally safe online with the iCloud Private Relay on iPhone. Here are a few things to know about iCloud Private Relay on iPhone.
- Private Relay is not a VPN on iPhone. It just encrypts your data and passes it through Apple’s relay network to and from the website you are visiting.
- You need to have an active iCloud+ subscription (any plan) to use Private Relay on iPhone.
- Private Relay only hides your IP address and exact location. Your country and approximate location will still be publicly visible to the websites.
- The Private Relay network currently works with Safari and a few other apps only.
- Using the Private Relay will not slow down your internet speed.
- The iCloud Private Relay is only available for iOS 15 and newer versions on iPhone.
How to Get Private Relay on iPhone
Private Relay is our way to hide IP addresses and locations from the websites we visit. It also hides the website and other information even from our internet service provider. To get the Private Relay feature on iPhone, you should be on iOS 15 or newer and should subscribe to any of the iCloud+ plans (previous iCloud storage plans).
Apple does not increase the pricing for any of the existing plans. You can still pay the same and get the iCloud storage space, Private Relay and Hide My Email features without any extra cost.
If you wish to get any iCloud+ plans, open your iPhone Settings > Your Name > iCloud > Manage Storage. The tap “Buy More Storage” or ‘iCloud+.’ You can then confirm with your FaceID or TouchID to subscribe to the plan. The basic iCloud+ plan starts at just $0.99.
Related: How to Copy Files from iCloud Drive to Google Drive on iPhone
Hide Browing History with Private Relay on iPhone
Once you get an iCloud+ subscription, or if you are already using any of the iCloud paid plans (or iCloud+), you can now get the Private Relay feature on your iPhone. Let’s go through the steps to enable Private Relay and hide IP addresses on iPhone without a VPN. This will essentially hide your browsing history from ISPs and even the government.
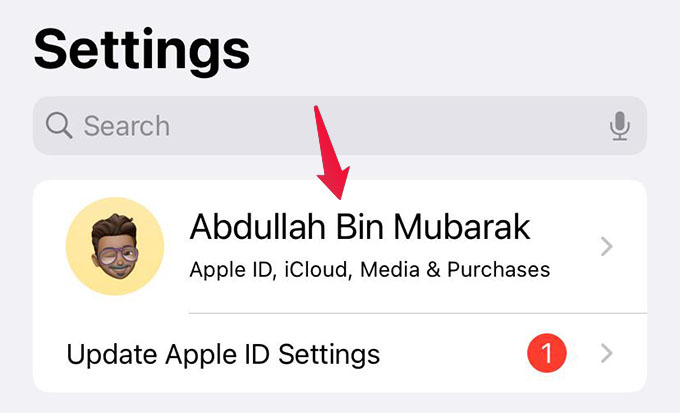
First, enable the Private Relay feature on your iPhone. For that, launch Settings and tap your name at the top.
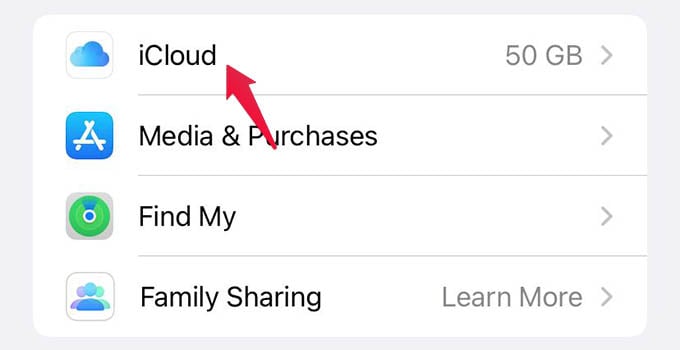
Go to iCloud from the next window.
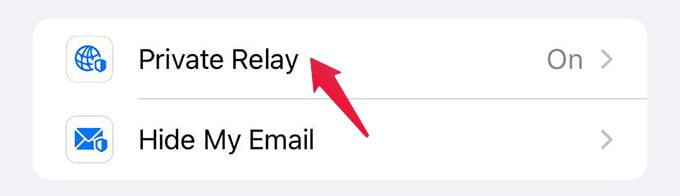
There you will see the option “Private Relay.” If not, subscribe to any iCloud+ plans and check again. Tap on “Private Relay” anyway.
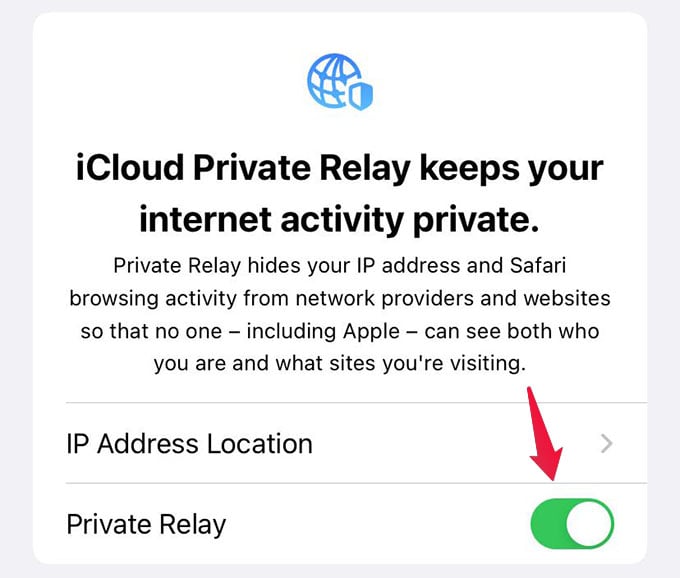
From the next screen, toggle on the “Private Relay” option. You have enabled the Private Relay on iPhone.
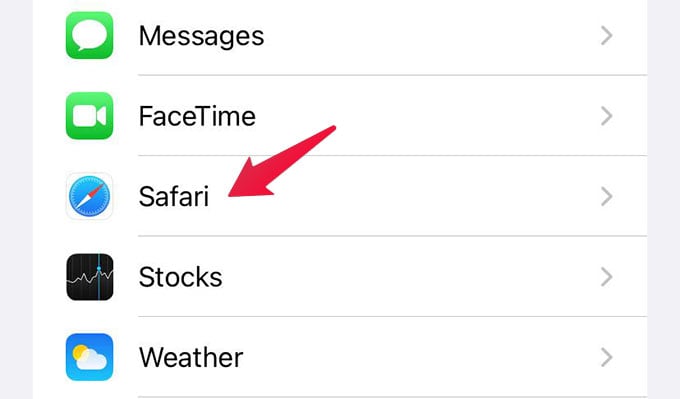
Now, we need to hide the IP addresses for all websites on Safari. For that, go to Settings and tap Safari.
From the Safari Settings, scroll down and tap “Hide IP Address” under “PRIVACY & SECURITY.”
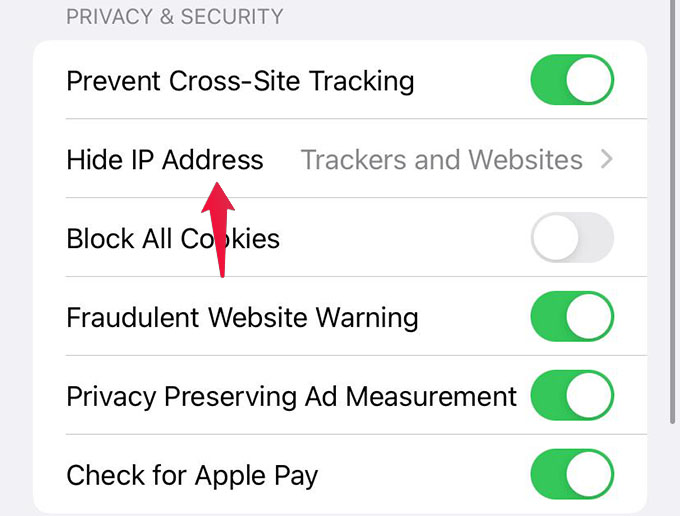
Choose “Trackers and Websites “from the next window. Go back to save the settings. That’s it for now. You can now hide your IP address on your iPhone without even using a VPN service.
Hide Your Location While Browsing on iPhone
When you use the Private Relay, it hides your IP address with a spoofed one. It will show somewhere near to your exact location. That means, even if your exact location is hidden, some nearby locations will be visible to the website. There are options to hide your location while browsing and show a nearby place instead of that.
Let’s see how to hide location on iPhone from websites using Private Relay.
Open Settings on iPhone and tap on your name at the top.
Go to iCloud > Private Relay.
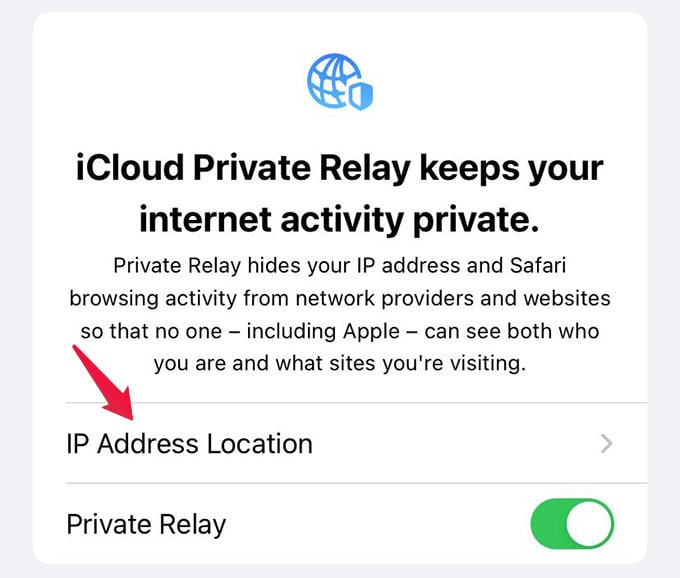
From the Private Relay settings, tap on “IP Address Location Settings.”
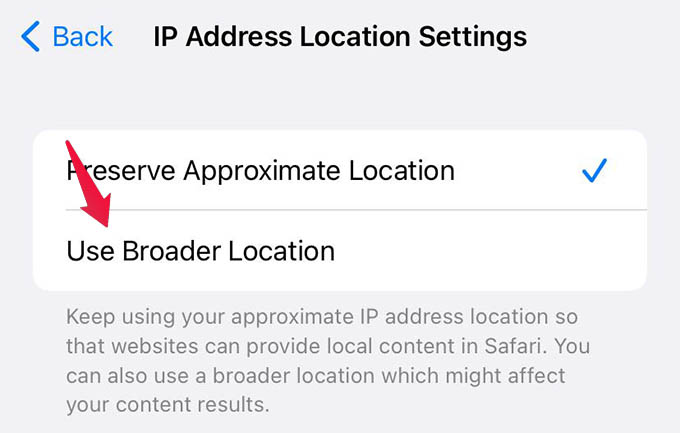
Choose “Use Broader Location” from the next screen. Once you enable this, all websites you visit will not even get your near approximate location. Private Relay will show a broader location but from within your country.
When you visit a website, they can track your IP address, location. Some use this to serve data while some spooky websites may use your information to steal data. In either of the cases, using the iCloud Private Delay, you can now easily hide your IP addresses on your iPhone without VPN services. Hope you now get a clearer idea about the new Private Relay.